
Retrieving a table schema
In this step, we will retrieve the table schema of interest from the connected HBase database.
Information noteWarning: If you are working on an SVN or Git managed project while the
Manual lock option is selected in Talend Administration Center, be sure to lock manually your
connection in the Repository tree view before
retrieving or updating table schemas for it. Otherwise the connection is read-only and
the Finish button of the wizard is not operable.
For information on locking and unlocking a project item and on different lock types, see
Working collaboratively on project items.
Procedure
-
In the Repository view, right-click the newly
created connection and select Retrieve schema
from the contextual menu, and click Next on the
wizard that opens to view and filter different tables in the HBase
database.
You can define the number of columns to be displayed for each column family in the Limit field.If you want to set this limit for all the HBase/MapR-DB connection metadata to be defined in the Repository, set the limit in the HBase/MapR-DB scan limit field in Preferences > Talend > Performance.
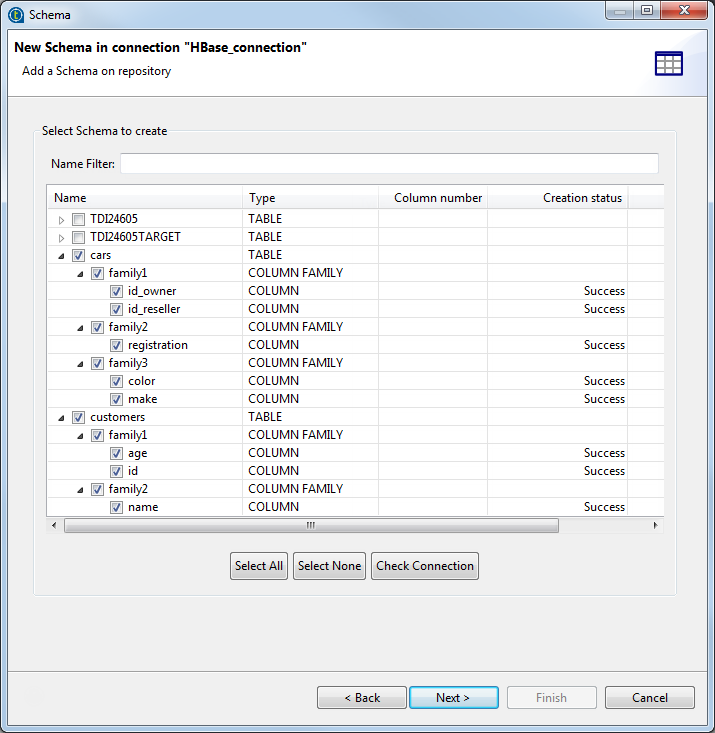
-
Expand the relevant database table and column family nodes and select the
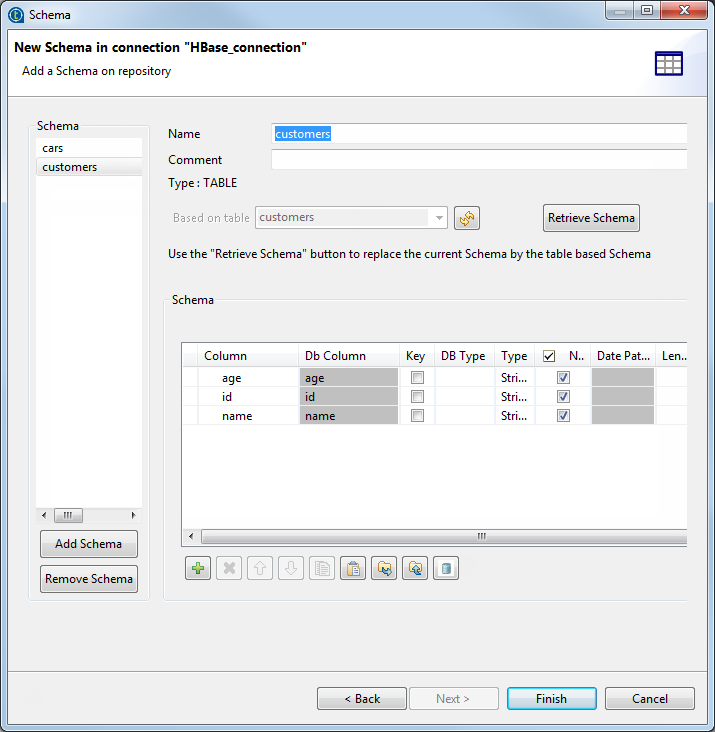
columns of interest, and click Next to open a
new view on the wizard that lists the selected table schema(s). You can select
any of them to display its details in the Schema area on the right side of the wizard.
 Information noteWarning: If your source database table contains any default value that is a function or an expression rather than a string, be sure to remove the single quotation marks, if any, enclosing the default value in the end schema to avoid unexpected results when creating database tables using this schema.
Results
As explained earlier, apart from using the Hadoop
cluster node, you can as well create an HBase connection and retrieve
schemas from the Db connection node. In either way, you
need always to define the specific HBase connection properties. At that step:
-
if you select from the Hadoop cluster list the Repository option to reuse details of an established Hadoop connection, the created HBase connection will eventually be classified under both the Hadoop cluster node and the Db connection node;
-
otherwise, if you select from the Hadoop cluster list the None option in order to enter the Hadoop connection properties yourself, the created HBase connection will appear under the Db connection node only.

Did this page help you?
If you find any issues with this page or its content – a typo, a missing step, or a technical error – let us know how we can improve!