Skip to main content Skip to complementary content
Close announcements banner

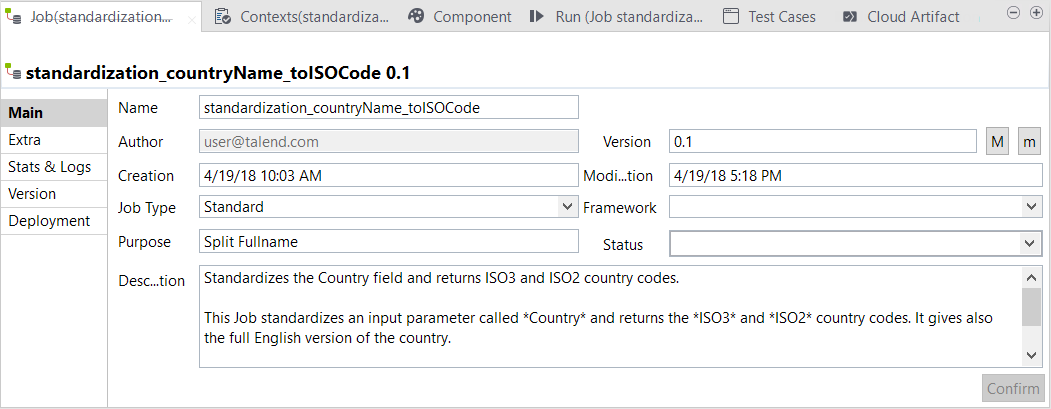
Adding metadata information in Main view

Before you begin

A Job must be open in Talend Studio and the Cloud Artifact tab below the design workspace must be selected.

Procedure

  1. Enter a name (title) of your choice in the Display name field.

    The name used in this field will be displayed in Talend Management Console.

    This field shows by default the name used in the Repository tree view.

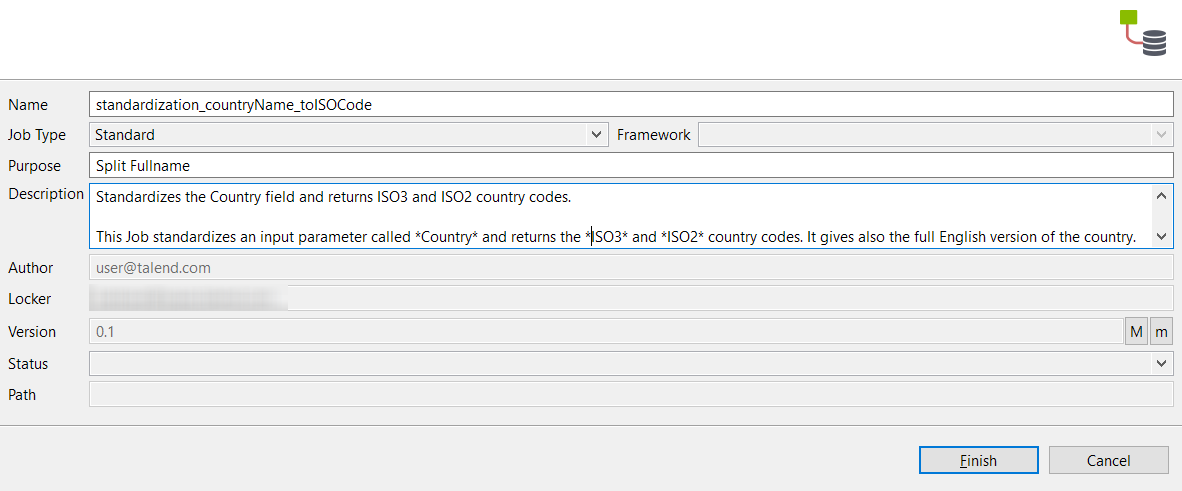
  2. In the Description field, enter a description for the Job.

    It is recommended to write the description using the Markdown syntax: this guarantees that the content is displayed correctly once you publish the Job to the web application.

    This description is also accessible/editable through:

    • The Job tab below the design workspace.

      Main view of the Job.
    • The Edit Properties dialog box of the Job (if it is not open in the design workspace).

      Edit Properties dialog box.
  3. Add a line to the Metainfo table.
    1. Select a category from the drop-down list in which to classify the Job.
      Talend Studio lists some predefined categories that are assigned default icons. Start typing directly in the field if you want to define a custom category.
    2. Select an application from the drop-down list that matches the selected category.
      The choice of the application decides what icon you can use for the Job.
    3. Enter a name in the Entity field.
      The entity name usually summarizes what is the purpose of the Job. Always use the singular form.
  4. Select the application icon you want to use from the From Application list, or select the Custom Icon option and browse to select an icon of your choice.

Did this page help you?

If you find any issues with this page or its content – a typo, a missing step, or a technical error – let us know how we can improve!