
Defining the report
Before you begin
Procedure
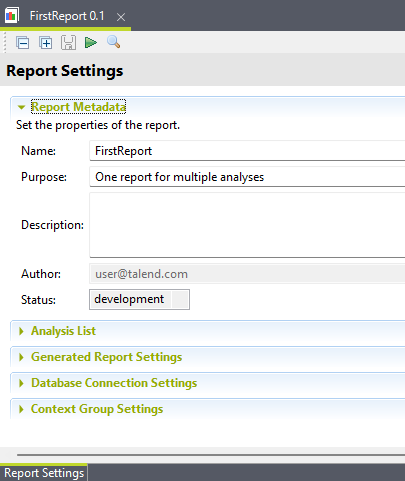
- Optional:
Set report metadata (Purpose,
Description and Author) in the
corresponding fields and click Finish to close the dialog
box.
A node for the new report is displayed under Reports in the DQ Repository tree view, and the report editor opens with the defined metadata.
 Information noteRemember: The display of the Analysis Results view depends on the parameters you set in the Preferences window. For more information, see Setting preferences of analysis editors and analysis results.
Did this page help you?
If you find any issues with this page or its content – a typo, a missing step, or a technical error – let us know how we can improve!