
Configuring the connection to Hive
About this task
Procedure
-
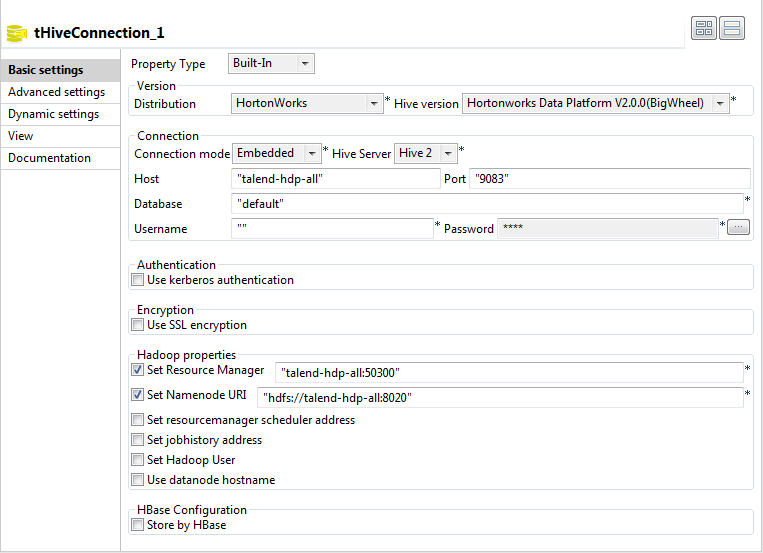
Double-click tHiveConnection to open its
Component view.
-
From the Property type list,
select Built-in. If you have created the
connection to be used in Repository, then
select Repository, click the
 button to open the Repository content dialog box
and select that connection. This way, Talend Studio
will reuse that set of connection information for this Job.
For further information about how to create a Hadoop connection in Repository, see Centralizing Hadoop connections.
button to open the Repository content dialog box
and select that connection. This way, Talend Studio
will reuse that set of connection information for this Job.
For further information about how to create a Hadoop connection in Repository, see Centralizing Hadoop connections.
Did this page help you?
If you find any issues with this page or its content – a typo, a missing step, or a technical error – let us know how we can improve!