
Configuring the components and connections
Procedure
-
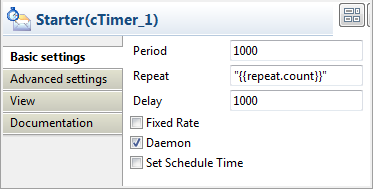
Double-click Starter in the design workspace
to display its Basic settings view in the
Component tab.
-
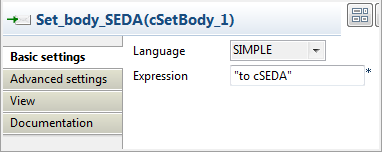
Double-click Set_body_SEDA in the design
workspace to display its Basic settings view in
the Component tab.
-
Select SIMPLE in the Language list.
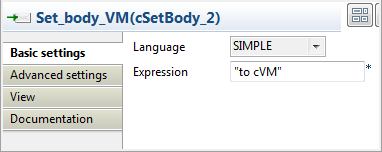
In Expression field, enter the "to cSEDA" as the message body.Repeat this step to set the message body in Set_body_VM and Set_body_Direct as "to cVM" and "to cDirect" respectively.Set_body_VM:
 Set_body_Direct:
-
Double-click SEDA_producer to display its
Basic settings view in the Component tab.

-
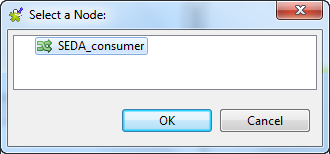
Click [...] and select
SEDA_consumer in the Select a
Node: wizard, which will consume the message that is sent to
SEDA_producer.
 Repeat this step to select the node VM_consumer for VM_producer.
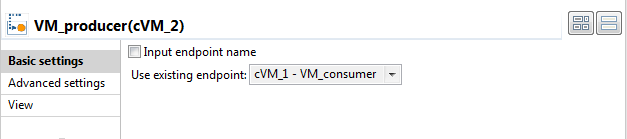 Select the node Direct_consumer for VM_producer.
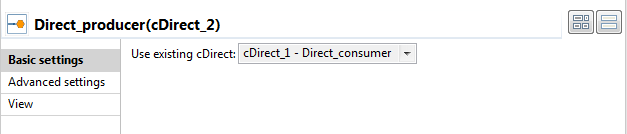
-
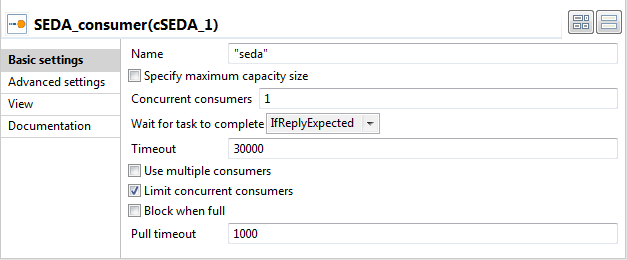
Double-click SEDA_consumer to display its
Basic settings view in the Component tab.
-
In the Name field, type in
"seda" to identify this endpoint. Keep the default settings
of the other options.
Repeat this step to give the name "vm" to VM_consumer.
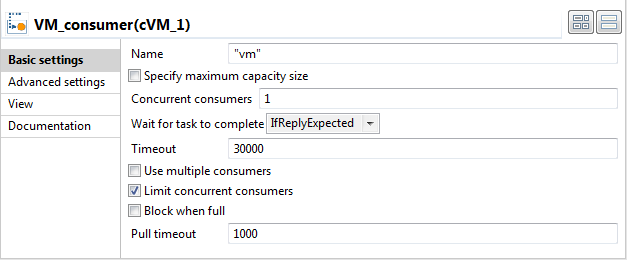 Give the name "direct" to Direct_consumer.
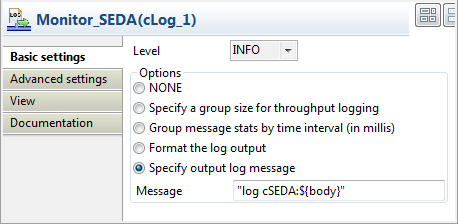
-
Double-click Monitor_SEDA to display its
Basic settings view in the Component tab.
Did this page help you?
If you find any issues with this page or its content – a typo, a missing step, or a technical error – let us know how we can improve!