Skip to main content Skip to complementary content
Close announcements banner

Configuring Custom Roles Claim Rule (Example)

Procedure

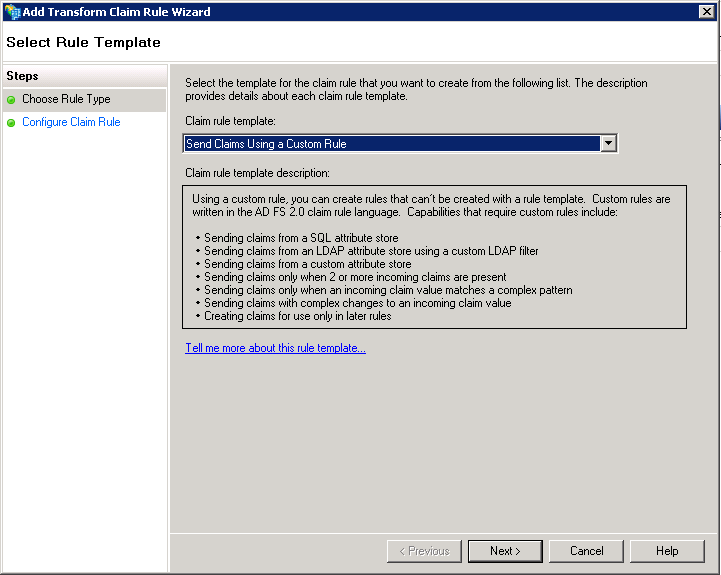
  1. In the Add Transform Claim Rule Wizard, select Send Claims Using a Custom Rule from the drop-down list, then click Next.
  2. Enter a Claim rule name, for example, EmailAddress.
  3. Enter the configuration to the Custom rule field.
    c:[Type == "http://schemas.microsoft.com/ws/2008/06/identity/claims/windowsaccountname", Issuer == "AD AUTHORITY"]
    => add(store = "Active Directory", types = ("http://schemas.xmlsoap.org/ws/2005/05/identity/claims/emailaddress"), query = ";mail;{0}", param = c.Value);
  4. Click Finish.
  5. In the Edit Claim Rules for... window, click Add Rule....
  6. Select Send Claims Using a Custom Rule from the drop-down list, then click Next.
  7. Enter a Claim rule name, for example, NameId.
  8. Enter the configuration to the Custom rule field.
    c:[Type == "http://schemas.xmlsoap.org/ws/2005/05/identity/claims/emailaddress"]
    => issue(Type = "http://schemas.xmlsoap.org/ws/2005/05/identity/claims/nameidentifier", Properties["http://schemas.xmlsoap.org/ws/2005/05/identity/claimproperties/format"] = "urn:oasis:names:tc:SAML:1.1:nameid-format:emailAddress", Value = c.Value);
  9. Click Finish.
  10. In the Edit Claim Rules for... window, click Add Rule....
  11. Select Send Claims Using a Custom Rule from the drop-down list, then click Next.
  12. Enter a Claim rule name, for example, Attributes.
  13. Enter the configuration to the Custom rule field.
    c:[Type == "http://schemas.microsoft.com/ws/2008/06/identity/claims/windowsaccountname", Issuer == "AD AUTHORITY"]
    => issue(store = "Active Directory", types = ("given_name", "family_name"), query = ";givenName,sn;{0}", param = c.Value);

    In this example, the given name and the family name are read from your Active Directory to define this Attributes claim rule.

  14. Click Finish.
  15. In the Edit Claim Rules for... window, click Add Rule....
  16. Select Send Claims Using a Custom Rule from the drop-down list, then click Next.
  17. Enter a Claim rule name, for example, TalendCloudDomainName.
  18. Enter the configuration to the Custom rule field.
    =>  issue(Type = "TalendCloudDomainName", Value = "<Domain>");
    In this example, <Domain> is the name to be used as TalendCloudDomainName, for example, tho.talend.com. This makes the value in this field read like
    =>  issue(Type = "TalendCloudDomainName", Value = "tho.talend.com");
    You can find the TalendCloudDomainName value to be used in the Domain field of the Subscription page of your Talend Management Console.
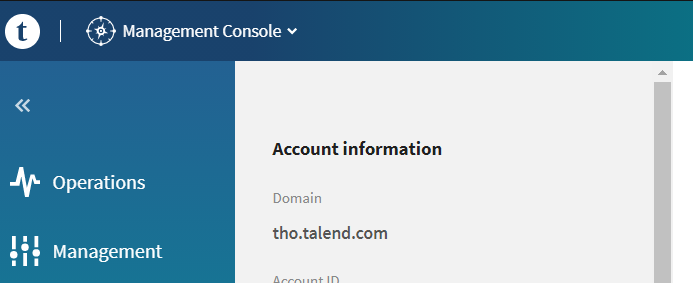
    If you want to map the TalendCloudDomainName value from your Active Directory, use the code reading like:
    c:[Type == "http://schemas.microsoft.com/ws/2008/06/identity/claims/windowsaccountname", Issuer == "AD AUTHORITY"]
    => issue(store = "Active Directory", types = ("TalendCloudDomainName"), query = ";department;{0}", param = c.Value);

    In this example, the value of the department attribute is taken for TalendCloudDomainName. The value to be used for this department attribute is still the Domain to be found on the the Subscription page of your Talend Management Console.

  19. Click Finish.

Did this page help you?

If you find any issues with this page or its content – a typo, a missing step, or a technical error – let us know how we can improve!