Skip to main content Skip to complementary content
Close announcements banner

Creating a Job

Talend Studio enables you to create a Job by dropping different technical components from the Palette onto the design workspace and then connecting these components together.

Information noteWarning: If you are working on a Git-managed project, do not use any of the following reserved key words to name your Job or Job folder:
  • tests
  • target
  • src
If any of the above-mentioned key words is used in the name of a Job, a Job folder or any level of its parent folders, changes to your Job or your Jobs in the folder will not get pushed to Git.

Note that if you are a subscription-based user of one of the Talend solutions with Big Data, another type of Job can be created to generate native Spark code and executed directly in Spark clusters. For related situation, see the chapter describing how to design a Spark Job.

About this task

To create the example Job described in this section, proceed as follows:

Procedure

  1. In the Repository tree view of the Integration perspective, right-click the Job Designs node or the Standard folder under the Job Designs node and select Create Standard Job from the contextual menu.

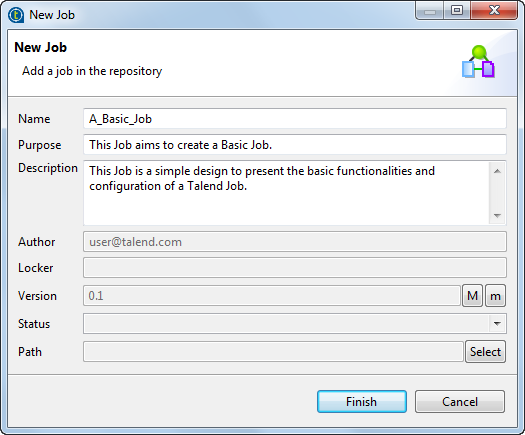
    The New Job wizard opens to help you define the main properties of the new Job.

  2. Fill the Job properties as shown in the previous screenshot.

    The fields correspond to the following properties:

    Field

    Description

    Name

    the name of the new Job.

    Note that a message comes up if you enter prohibited characters.

    Purpose

    Job purpose or any useful information regarding the Job use.

    Description

    Job description containing any information that helps you describe what the Job does and how it does it.

    Author

    a read-only field that shows by default the current user login.

    Locker

    a read-only field that shows by default the login of the user who owns the lock on the current Job. This field is empty when you are creating a Job and has data only when you are editing the properties of an existing Job.

    Version

    a read-only field. You can manually increment the version using the M and m buttons. For more information, see Managing Job and Route versions.

    Status

    a list to select from the status of the Job you are creating.

    Path

    a list to select from the folder in which the Job will be created.

  3. An empty design workspace opens up showing the name of the Job as a tab label.

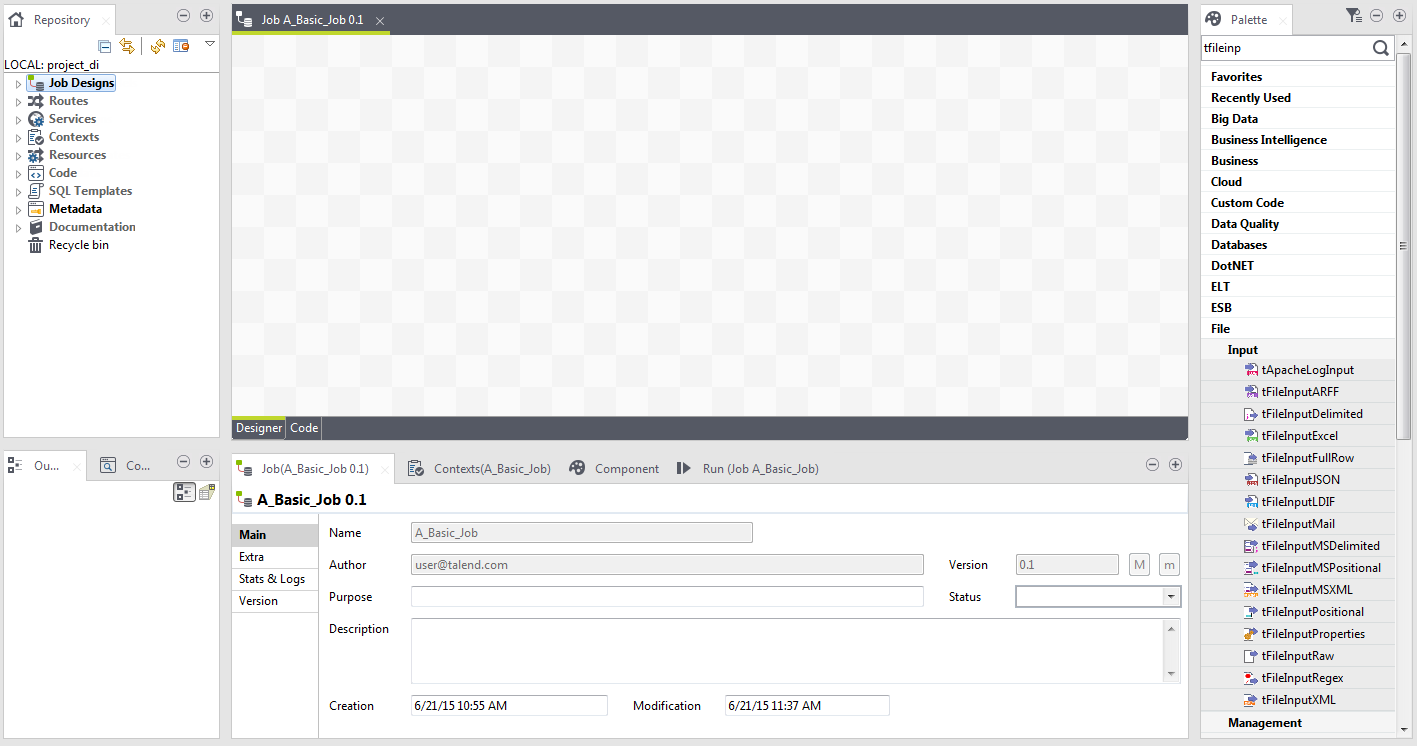
    The Job you created is now listed under the Job Designs node in the Repository tree view.

    You can open one or more of the created Jobs by simply double-clicking the Job label in the Repository tree view.

Did this page help you?

If you find any issues with this page or its content – a typo, a missing step, or a technical error – let us know how we can improve!