
Selecting the analyses you want to include in the report
Procedure
-
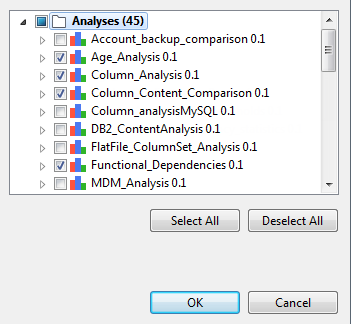
Click Analysis List to display the
corresponding view and then click the Select
analyses link to open a dialog box listing all analyses in the
Analyses folder.
-
From the list, select the check boxes of the analysis/analyses you want to include
in the report and click OK.
If you select a Correlation Analysis from the list, a warning message pops up to indicate that the analysis cannot be integrated in the report because it is not supported.The selected analysis/analyses are listed in the table in the Analysis List view.
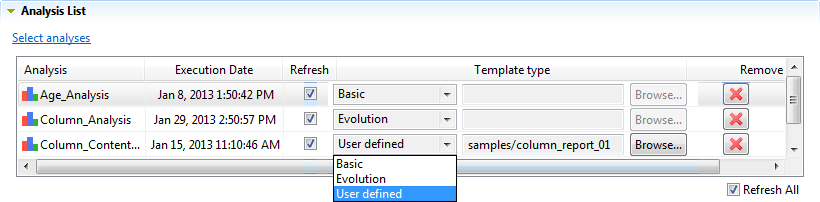 The Refresh and Refresh All check boxes are selected by default. This means that the analyses in the list will be executed before generating the report and thus you guarantee having the latest results in your report if any of the analyses was modified meanwhile. Otherwise clear the check box next to the analysis you do not want to execute before generating the report.Another benefit of selecting these check boxes is that the analysis summary for each of the listed analyses, for example the indicator values and the execution time and duration, will be updated in the Studio repository. You can access the analysis summary in the Analysis Results view of the analysis editor.
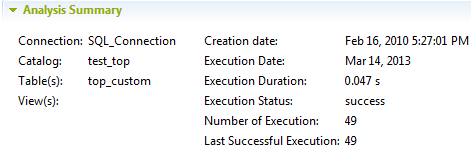 However, the analysis information in the repository and thus in the Analysis Summary view will not be updated when you generate reports using a report script or using the tDqReportRun component. These two ways of generating reports will store the analysis latest values in the datamart and will show them in the report itself but will not update the analysis values in the repository.For further information on using a report script to generate reports, see Generating and exporting a report Job.For further information on using tDqReportRun to generate reports, see Generating a Job to launch a report.
Did this page help you?
If you find any issues with this page or its content – a typo, a missing step, or a technical error – let us know how we can improve!