
Setting a database for the report
Procedure
-
Click Database Connection Settings to open
the corresponding view and set the parameters of the database as outlined in
Setting up a database for an individual report.
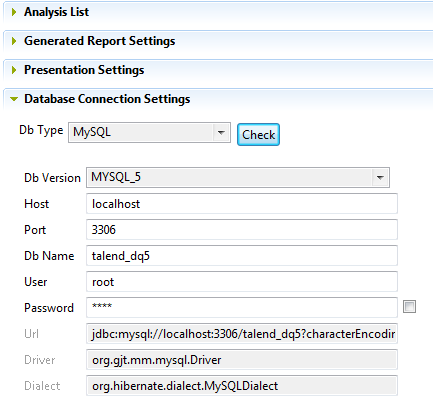 The database connection you set here will be only for the current report and can be different from the by-default distant database you define in the Preferences window of the Studio. For further information on how to configure a distant database for all reports, see Setting up a distant database.
Did this page help you?
If you find any issues with this page or its content – a typo, a missing step, or a technical error – let us know how we can improve!