
Creating the context group and contexts
Procedure
-
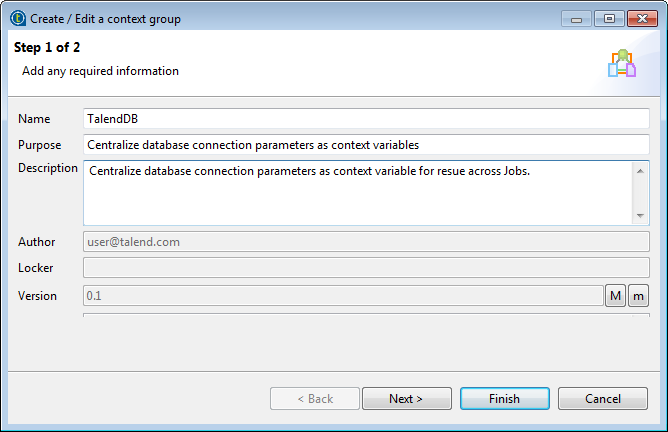
In Step 1 of 2, type in a name for the context group to be created,
TalendDB in this example, and add any
general information such as a description if required. The information you
provide in the Description field will
appear as a tooltip when you move your mouse over the context group in the
Repository.
-
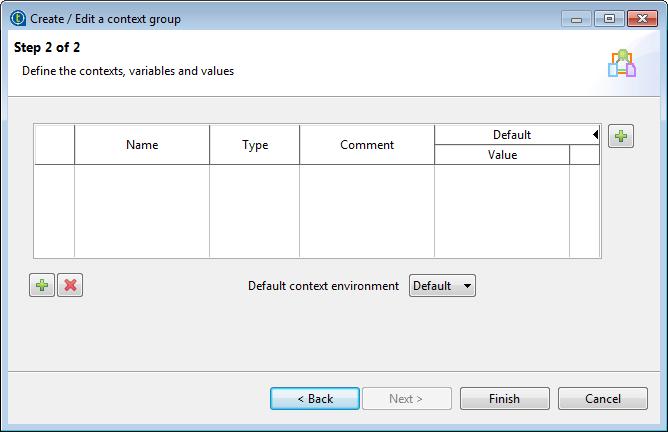
Click Next to go to Step 2 of 2, which
allows you to define the various contexts and variables that you
need.
A context named Default has been created and set as the default one by the system.
-
Click the [+] button at the upper right
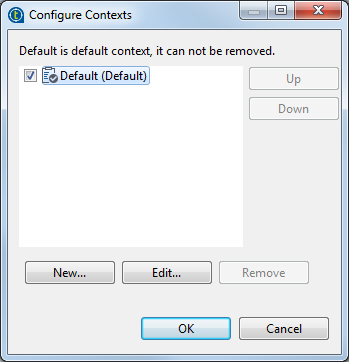
corner of the wizard to define contexts. The Configure Contexts dialog box pops up.
-
Select the check box preceding the context you want to set as the default
context. You can also set the default context by selecting the context name
from the Default context environment list
on the wizard.
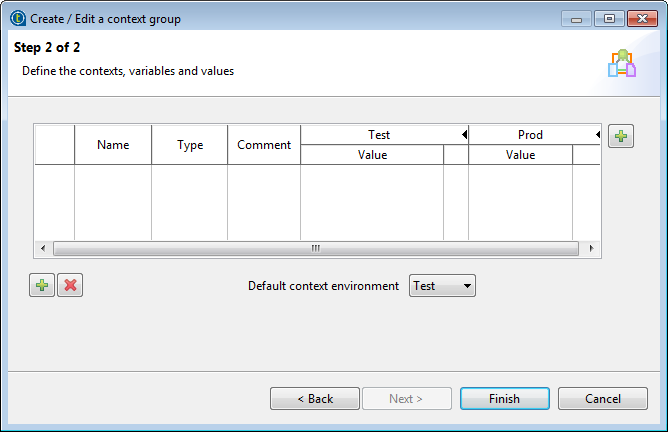
If needed, move a context up or down by selecting it and clicking the Up or Down button.In this example, set Test as the default context and move it up.

-
Click OK to validate your context
definition and close the Configure
Contexts dialog box.
The newly created contexts are shown in the context variables table of the wizard.
Did this page help you?
If you find any issues with this page or its content – a typo, a missing step, or a technical error – let us know how we can improve!