
Creating a Service
The Integration perspective of Talend Studio enables you to create a Service from an existing WSDL file or to create a new WSDL file from scratch using the WSDL editor.
You can also create different folders to better classify these Services.
- tests
- target
- src
To create a Service:
-
Open Talend Studio following the procedure detailed in the Getting Started Guide.
-
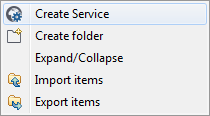
In the Repository tree view, right-click the Services node and select Create Service from the contextual menu.
-
The dialog box displays to help you define the main properties of the new Service.
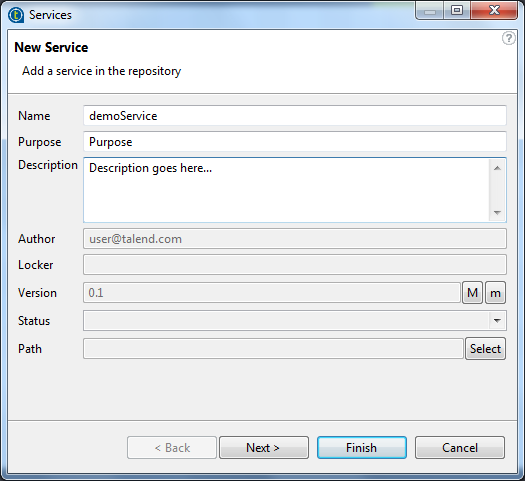
Enter the Service properties as the following:
Field
Description
Name
the name of the new Service. A message comes up if you enter prohibited characters.
Purpose
Service purpose or any useful information regarding the Service use.
Description
Service description.
Author
a read-only field that shows by default the current user login.
Locker
a read-only field that shows by default the login of the user who owns the lock on the current Service. This field is empty when you are creating a Service and has data only when you are editing the properties of an existing Service.
Version
a read-only field. You can manually increment the version using the M and m buttons. For more information, see Managing Job and Route versions.
Status
a list to select from the status of the Services you are creating.
Path
a list to select from the folder in which the Service will be created.
-
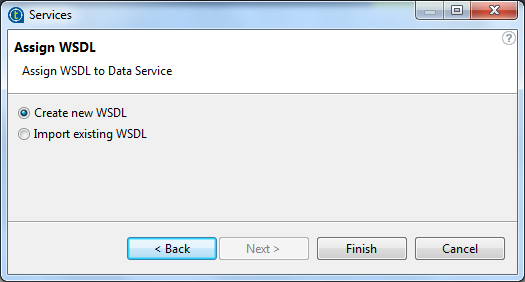
Click Next to open the Assign WSDL view on the wizard. By default, the Create new WSDL option is selected allowing you to create a new WSDL file.
-
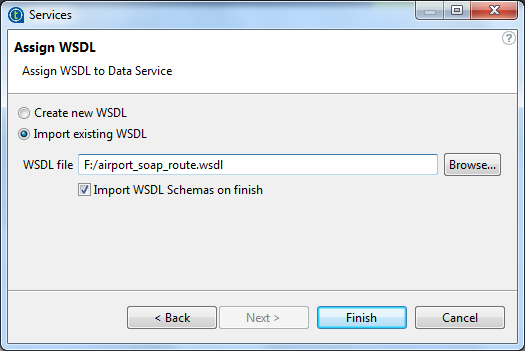
To import an existing WSDL file, click the Import existing WSDL radio button. Click Browse... next to the WSDL file field to navigate to an existing WSDL file. Select the Import WSDL Schemas on finish check box if you want to retrieve and store the schema from the WSDL file in the Metadata folder of the repository tree view.
-
Click Finish to close the wizard and the Service opens in the design workspace with a basic WSDL skeleton.
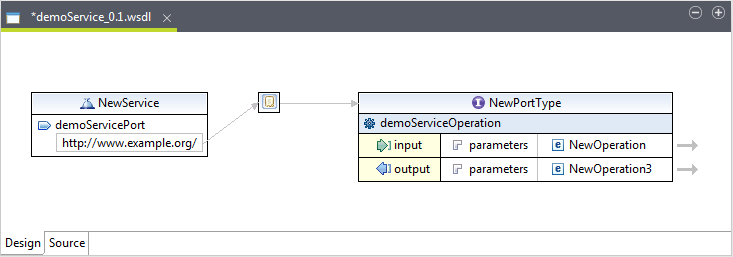
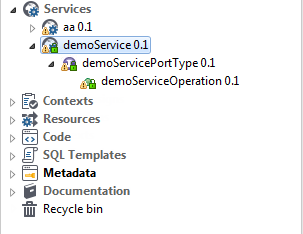
The Service you just created is listed under the Services node in the Repository tree view. The port type and the operation objects are displayed on the tree. The exclamation icon means that this defined Web service is not yet used.
-
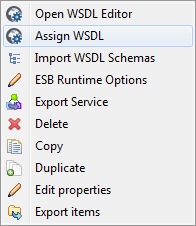
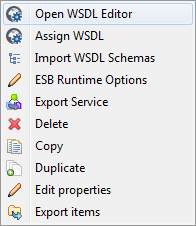
You can also assign an existing WSDL file to a Service after the creation by right clicking on the Service from the Repository tree view and select Assign WSDL from contextual menu to show the Assign WSDL wizard.
-
Double click the Service you just created from the Repository tree view, or right click the Service and select Open WSDL Editor from contextual menu to open the Service in the design workspace.
-
Edit the WSDL file in the WSDL editor. For more information, see Editing a WSDL file.
-
Create or assign one or more data service Jobs to the Service to implement the Web service. For more information, see Assigning a data service Job to a service operation.
To create different folders for your Services, complete the following:
-
In the Repository tree view, right-click Services and select Create folder from the contextual menu.
The New folder dialog box displays.
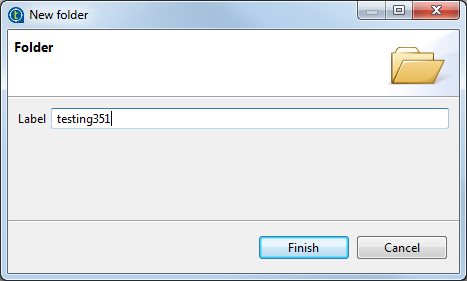
-
In the Label field, enter a name for the folder and then click Finish to confirm your changes and close the dialog box.
The created folder is listed under the Services node in the Repository tree view.
For a scenario showing how to create a real-life data service, see Data Service and Routing Examples.
You can now:
-
Edit the generated WSDL file. For more information, see Editing a WSDL file.
-
Export your Service for a deployment on Talend Runtime. For more information, see Exporting a Service for deployment.
-
Publish your Service in the Talend Artifact Repository. For more information, see Publishing to the Artifact Repository.
Did this page help you?
If you find any issues with this page or its content – a typo, a missing step, or a technical error – let us know how we can improve!