
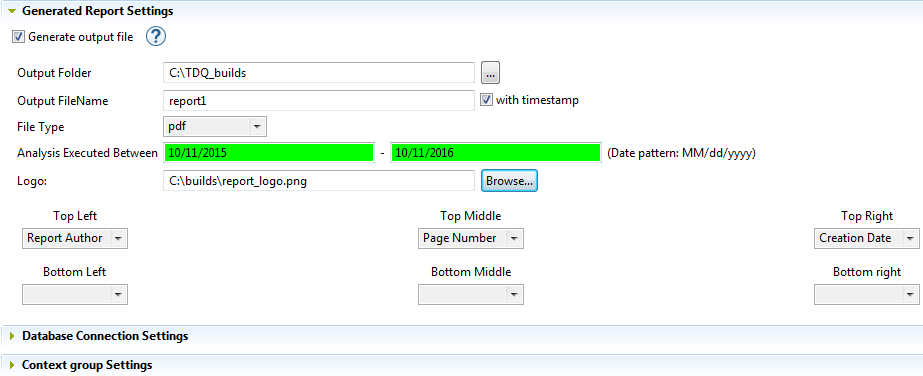
Defining the report settings
Talend DQ Portal is deprecated from Talend 7.1 onwards.
Procedure
-
Click the [...] button next to the Output
Folder field and browse to the folder in which you want to save
a copy of the generated report.
Information noteTip: The folder you define in this field will store only the current report. However, you can define a by-default folder where you store all reports you generate from the Profiling perspective. For further information, see Creating a report on specific analyses.
 If you define an output report folder in this field, the report document you generate will be stored in this folder but will not be committed on the SVN or Git server that hosts the shared repository.To commit the report document on the SVN or Git server and share it with the other team members who access the same remote project, leave the Output Folder field empty.
Did this page help you?
If you find any issues with this page or its content – a typo, a missing step, or a technical error – let us know how we can improve!