
Outputting data from one database table to another
About this task
You can use different templates to create a Job that writes data from a database table to another database table or from a database table to a file.
To output data from one database table to another database table, do the following:
Procedure
-
In the Repository tree view of the
Integration
perspective, right-click Job Designs and select Create job from
templates in the drop-down list. A Job creation wizard displays to
help you defining the new Job main properties
-
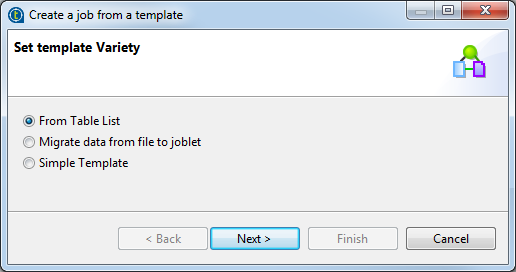
Select the From Table List option and click
Next to open a new view on the wizard.
-
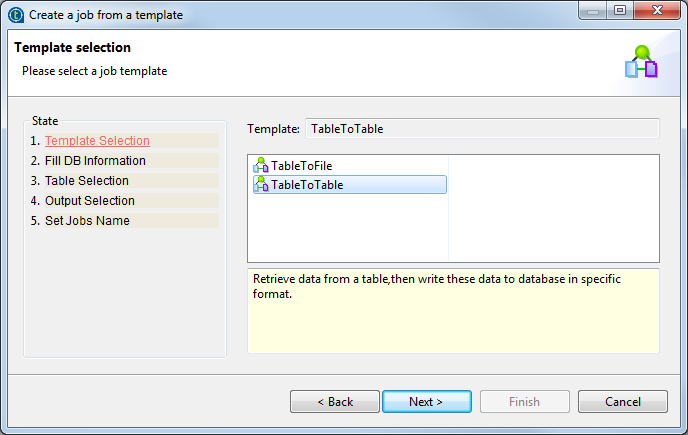
Select the template you want to use to create your Job and click Next, TableToTable in
this example.
-
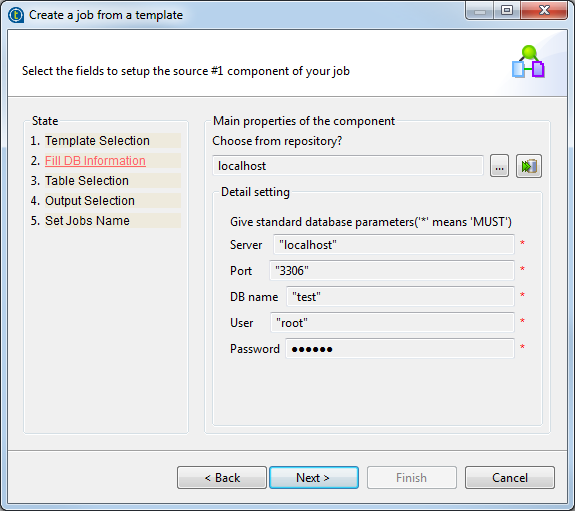
In the Main properties of the component area,
click the [...] button and browse to the
connection you want to use the properties of. The database connection should be
centralized in the Repository tree view. The
fields that follow in the Detail settings area
are filled automatically with the properties of the selected database table.
Alternatively, you can manually set the database parameters in the Detail setting area, if needed.
Then, click Next to validate and open a new view on the wizard.

-
In the Select Schema to create area, select
the check box of the table you want to use and click Next to validate and open a new view on the wizard. Then, click
Next to validate and open a new view on the
wizard.
-
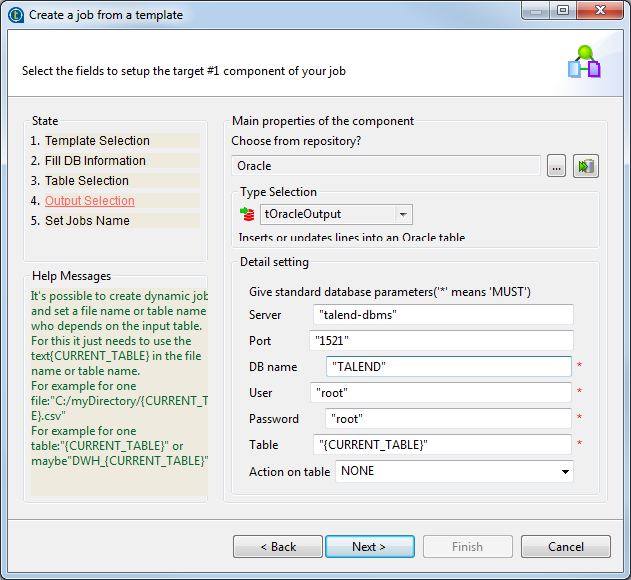
In the Main properties of the component area,
click the three-dot button and browse to the connection you want to use the
properties of. The Database connection should be centralized in the Repository tree view. The fields that follow in the
Detail settings area are filled automatically
with the properties of the selected connection. Alternatively,you can manually
set the output database details and all properties fields in the Detail setting area, if needed.
Then, click Next to validate and open a new view on the wizard.
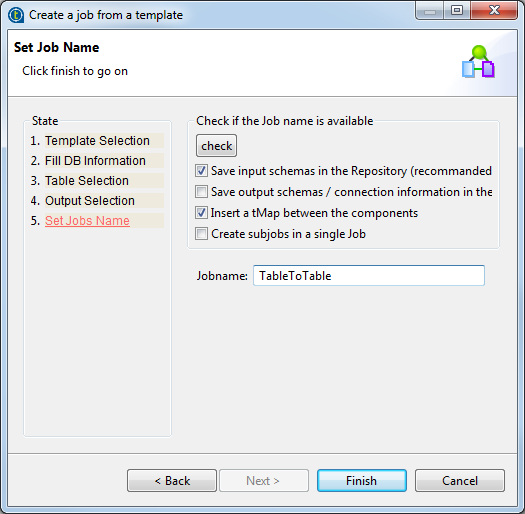
-
Click Finish to validate and close the
wizard. The ready-to-run Job is created and listed under the Job Designs node in the Repository tree view.
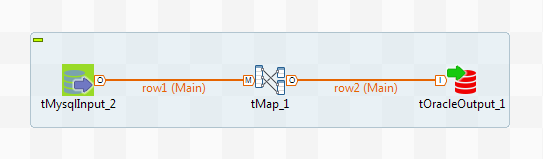
Results
Once the Job is created, you can modify the properties of each of the components in the Job according to your needs.
Did this page help you?
If you find any issues with this page or its content – a typo, a missing step, or a technical error – let us know how we can improve!