
Sending the XML document to the Job
Procedure
-
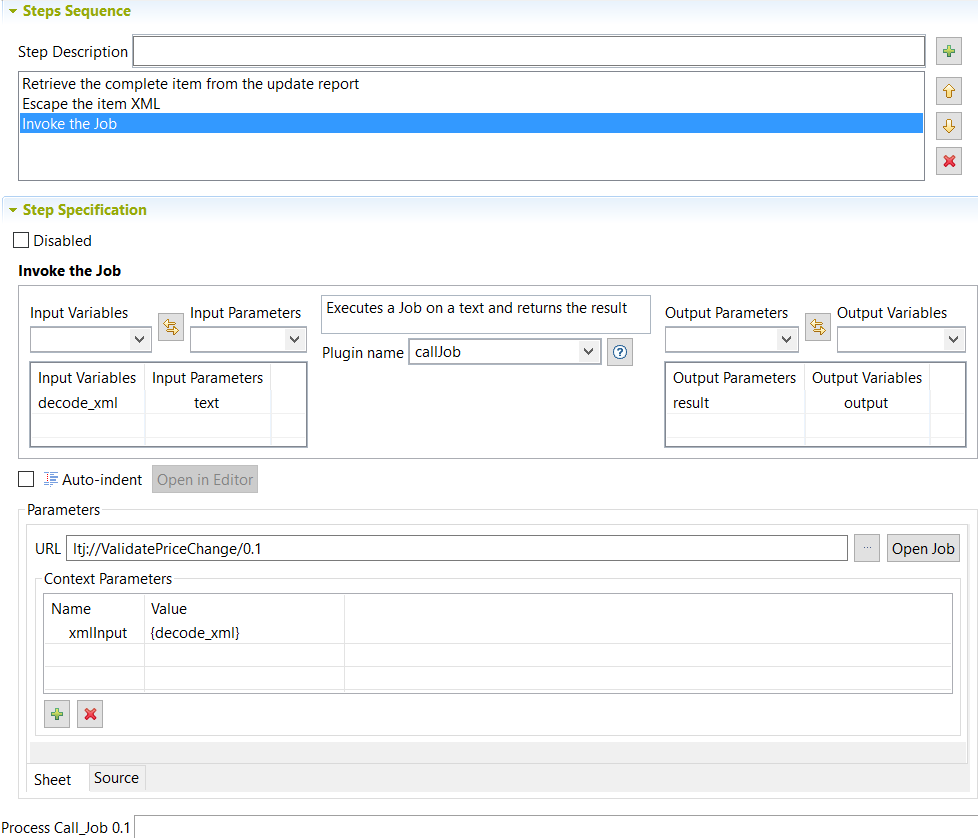
Click the third step to display the Step Specifications
area where you can define the step parameters.
 Information noteNote: You can disable the selected step in the open Process editor at any time if you select the Disable check box in the Step Specification area.
 -
From the Plugin name list, select
callJob.
A description for the selected plugin displays in the box above the Plugin name field.Information noteNote: The
 button displays a dialog box that describes the
plugin and details its parameters.
button displays a dialog box that describes the
plugin and details its parameters. -
Map the decode_xml variable defined in the previous step
to this step text input parameter and click the
 button to add them to
the table.
button to add them to
the table.
-
Map this step output parameter to a new variable called
output, for example then click the button to add them to
the table.
Information noteNote: For each step, you can select one of the by-default variables or one of the variables defined for the preceding plugin the Process you define.
-
If required, click the Source tab in the lower left
corner of the Process editor to switch to the text editor. Here you can enter
the parameters directly in XML.
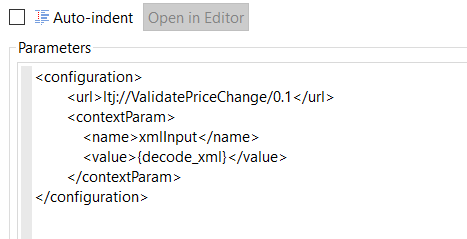 Information noteWarning: The text you enter in the text editor is indented by default upon saving. This may cause problems in certain cases such as the HTML formatting when creating a Smart View process. If required, clear the Auto-indent check box to disable the text indentation upon saving the process.The Job will thus need to parse the context variable using a tExtractXMLField component. You can send as many context variables as necessary, including literal values.
Results
The newly created Process is listed under the Process node in the MDM Repository tree view.
Now that the Process has been created, you can call it using a Trigger. Once called, it will transform the master data records according to the tasks defined in the Process.
For more information on how to call a specific Process in a Trigger, see Selecting the service to Trigger and setting the service parameters. For more information on Triggers, see Triggers.
Did this page help you?
If you find any issues with this page or its content – a typo, a missing step, or a technical error – let us know how we can improve!