
Executing the Job to handle data with Azure Table storage
After setting up the Job and configuring the components used in the Job for
handling data with Azure Table storage, you can then execute the Job and verify the Job
execution result.
Procedure
-
Press F6 to execute the Job.
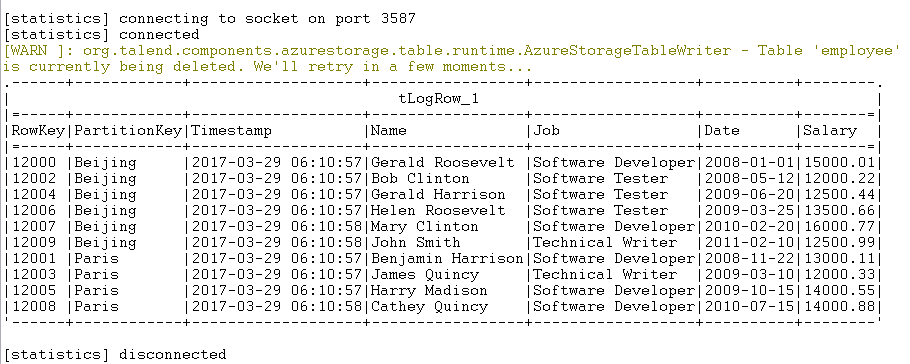
As shown above, the Job is executed successfully and the employee data is displayed on the console, with the timestamp value that indicates when each entity was inserted.
- Optional:
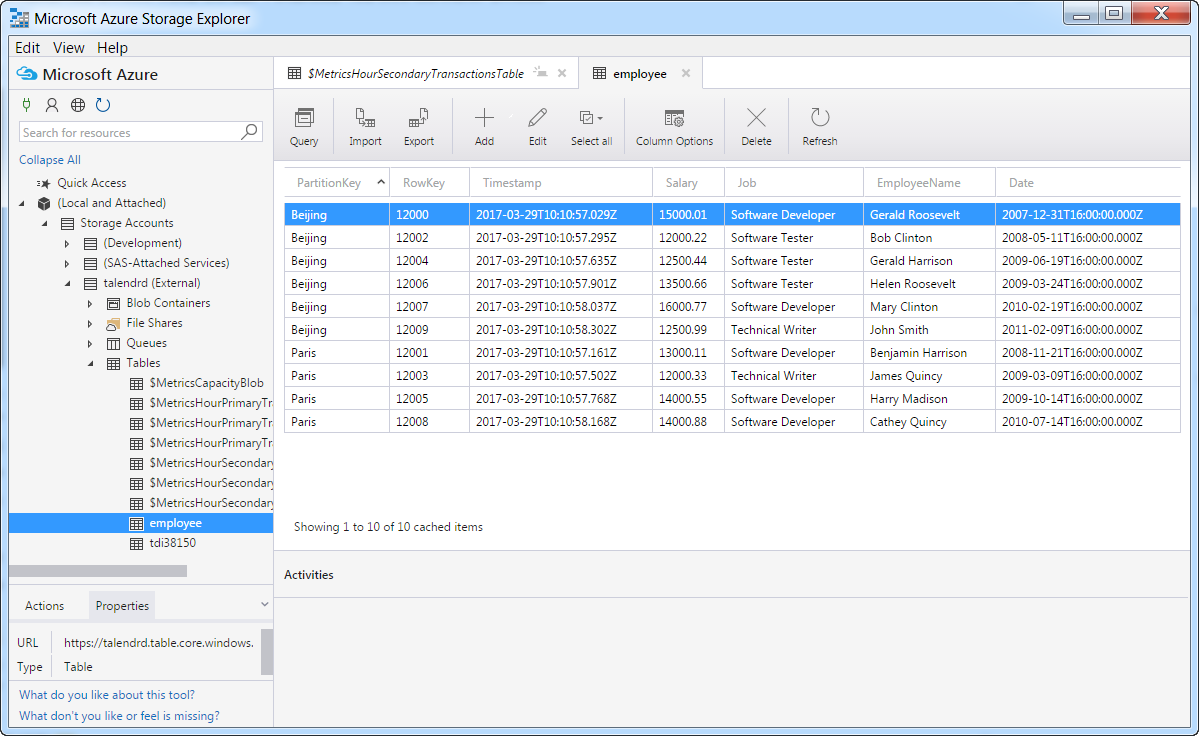
Double-check the employee data that has been written into the Azure Storage
table employee using Microsoft Azure Storage Explorer.
Did this page help you?
If you find any issues with this page or its content – a typo, a missing step, or a technical error – let us know how we can improve!