
Configuring the input schemas
Procedure
-
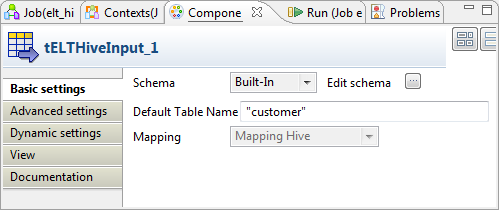
Double-click the tELTHiveInput component
using the customer link to open its
Component view.
-
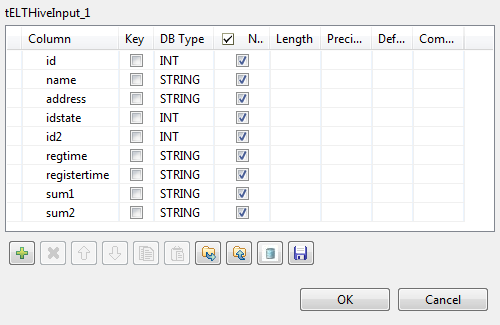
Click the
 button as many times as required to add columns and
rename them to replicate the schema of the customer table we created earlier in Hive.
button as many times as required to add columns and
rename them to replicate the schema of the customer table we created earlier in Hive.
 You can as well use the customer schema you retrieve and store in the Repository to set up this schema. For further information about how to set up a connection to Hive and retrieve and store the schema in Repository, see Centralizing Hive metadata.
 -
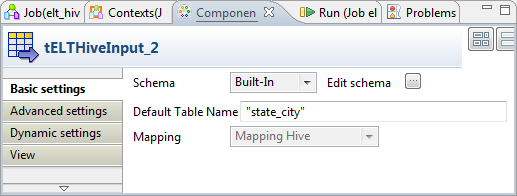
Double-click the other tELTHiveInput
component using the state_city link to
open its Component view.
-
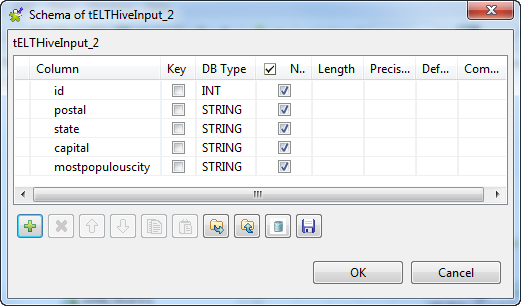
Click the
button as many times as required to add columns and
rename them to replicate the schema of the state_city table we created earlier in Hive.
Did this page help you?
If you find any issues with this page or its content – a typo, a missing step, or a technical error – let us know how we can improve!