Before you begin
Download and extract these files:
Procedure
-
In Jenkins, navigate to .
-
Click Add a new config and select Maven
settings to add the Maven configuration file.
-
Give it a name and an ID, maven_settings. This ID will later
be used in the Jenkins the pipeline
script.
-
In the Content editor, paste the content of the
maven_settings.xml file you have previously downloaded.
- The default Nexus artifactory URL defined in the file (line 40) is
localhost:8080. Updated the value according to your environment.
-
For Big Data users with dynamic distributions only: add the following server
and repository to the configuration file in order to define the Nexus local
repository as proxy, ensuring faster .jar file
downloading:
<server>
<id>dynamic-distrib</id>
<username>admin</username>
<password>Talend123</password>
</server>
<repository>
<id>dynamic-distrib</id>
<name>dynamic-distrib</name>
<url>http://localhost:8081/repository/dynamic-distrib/</url>
<layout>default</layout>
</repository>
For this configuration to be complete, you need to have previously added the
Talend proxy in the Talend Studio
menu.
For more information, see Adding the latest Big Data Platform
dynamically.
-
Click Submit.
-
Click Add a new config and select
Groovy to add the Jenkins helper configuration file.
-
Give it a name and an ID, jenkins_talend_helper. This ID
will later be used in the Jenkins pipeline script.
-
In the Content editor, paste the content of the Groovy file
and click Submit.
-
Click Add a new config and select
Custom to add your Talend
license file.
-
Give it a name and an ID, license. This ID will later be
used in the Jenkins pipeline
script.
-
In the Content editor, paste the content of the license file
and click Submit.
Results
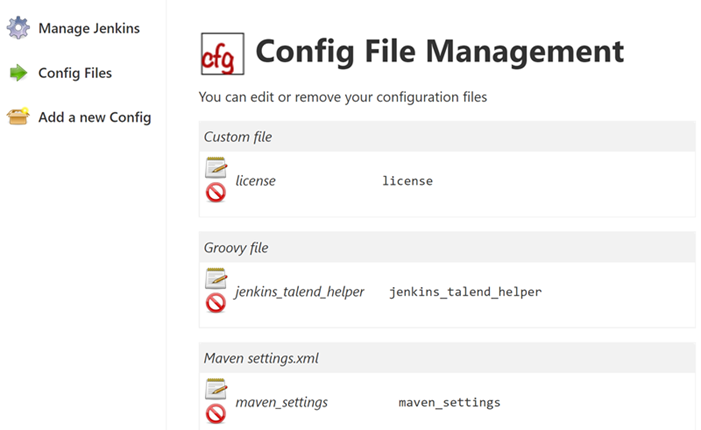
These files contain the connection information to your artifact
repositories, the definition of the pipeline steps as well as the license information.
These files will be are referenced in the configuration of your Jenkins pipeline.