
Adding test instances
About this task
Procedure
-
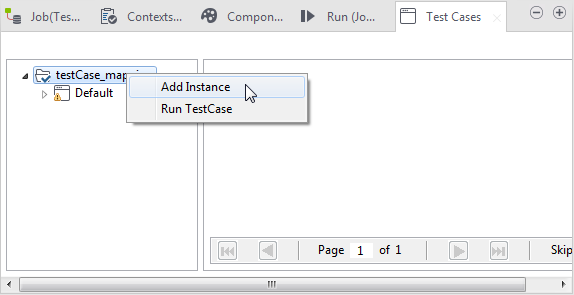
On the left panel of the Test Cases,
right-click the test case you want to set up, and select Add
Instance from the contextual menu.
-
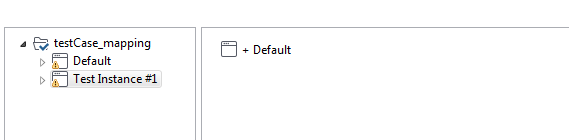
Type in a name for the instance or accept the proposed name.
The newly created test instance appears under the test case name node.
 You can remove the instance, add test data to all existing instances, or run the instance by right-clicking on the instance and select the relevant item of the contextual menu. You can also remove a test data item by right-clicking it and select Remove TestData from the context menu.Information noteNote:
Note that if you remove a test data item from an instance, this item is also removed from all the other instances.
Did this page help you?
If you find any issues with this page or its content – a typo, a missing step, or a technical error – let us know how we can improve!