
Creating a Spark Job
You can start either from the Job Designs node of the Repository tree view in the Integration perspective or from Big Data Batch node under the Job Designs node.
The two approaches are similar and thus the following procedure shows how to create a Spark Job from the Job Designs node.
Procedure
Results
In the Repository tree view, this created Spark Job appears automatically under the Big Data Batch node under Job Designs.
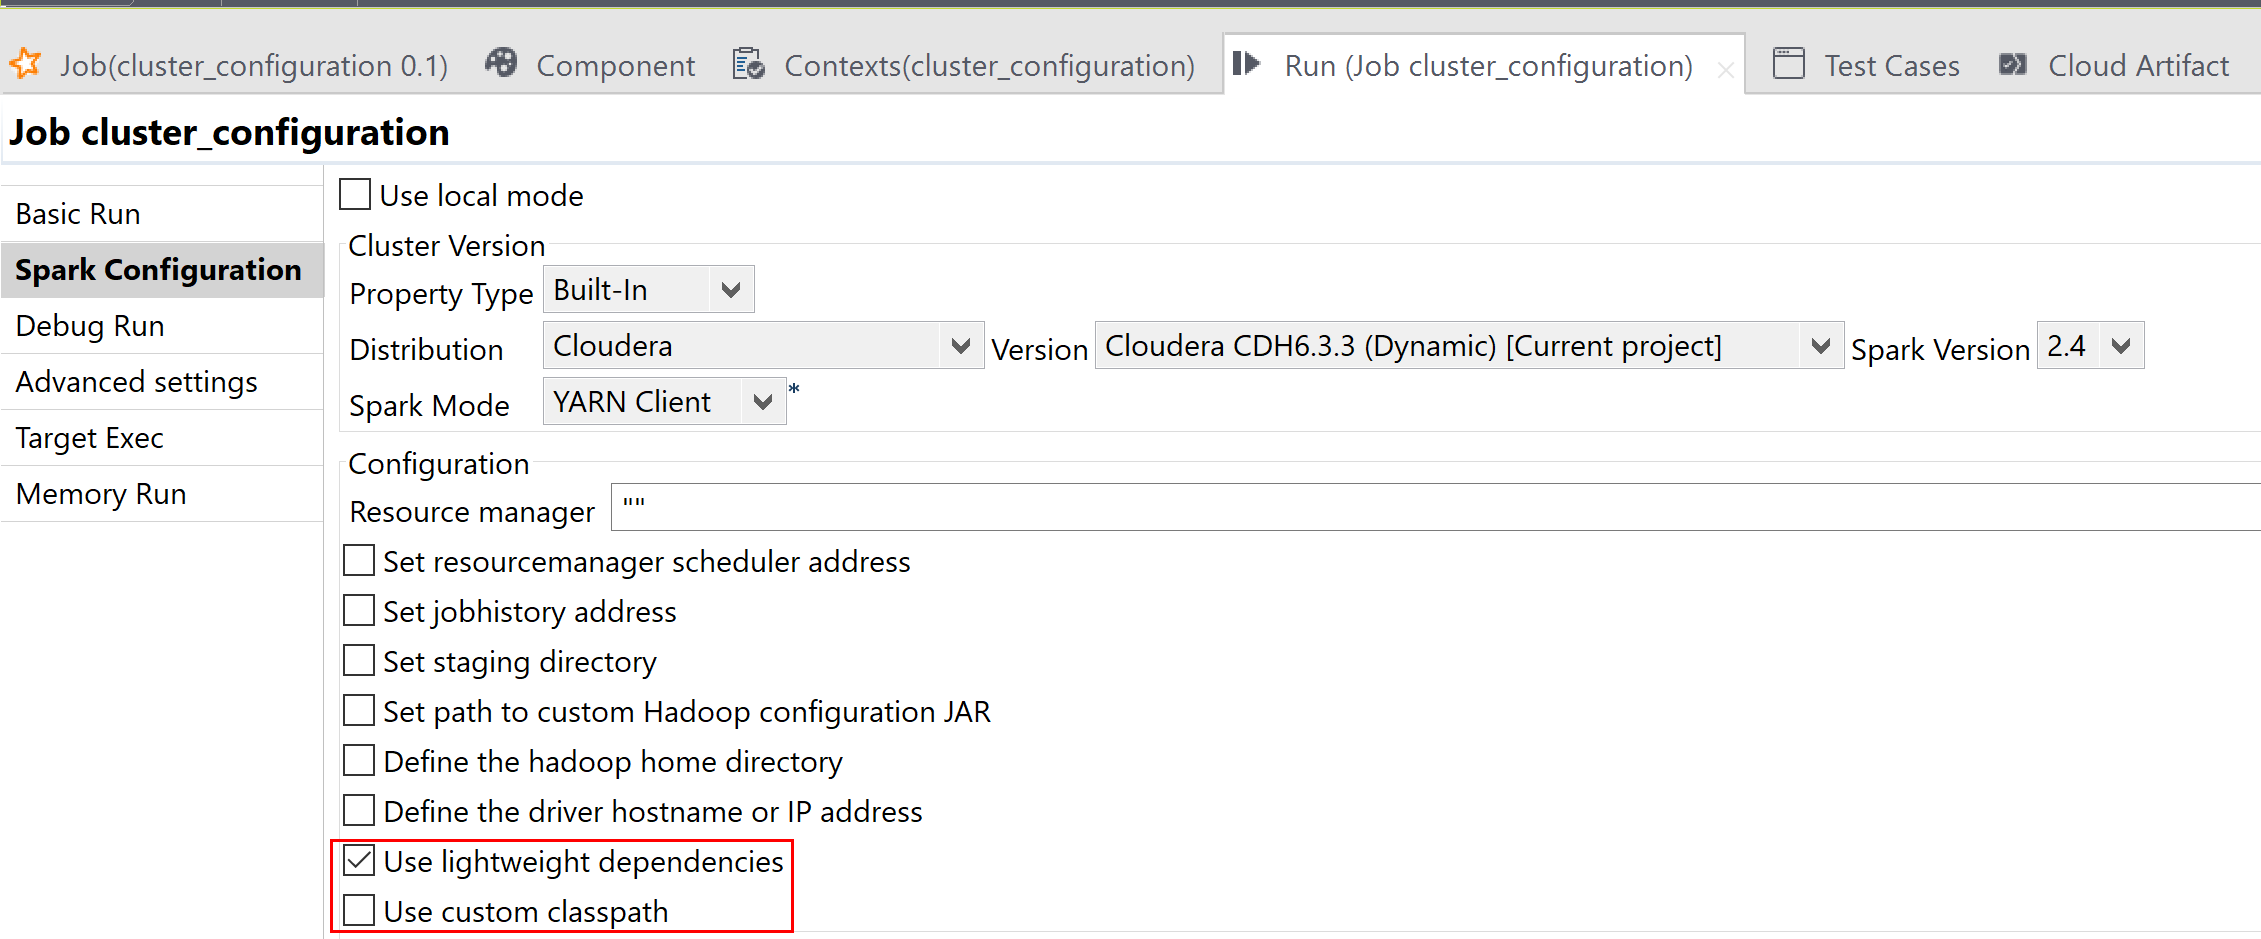
Then you need to place the components you need to use from the Palette onto the workspace and link and configure them to design a Spark Job, the same way you do for a standard Job. You also need to set up the connection to the Spark cluster to be used in the Spark configuration tab of the Run view.
You can repeat the same operations to create a Spark Streaming Job. The only different step to take is that you need to select Create Big Data Streaming Job from the contextual menu after right-clicking the Job Designs node, and then you select Spark Streaming from the Framework drop-down list in the New Big Data Streaming Job wizard that is displayed.
- Amazon EMR 6.2.0
- Cloudera CDH 6.1.1 and other 6.x versions compatible through dynamic distributions
- Cloudera CDP 7.1.1 and other 7.1.x versions compatible through dynamic distributions
Note that if you need to run your Spark Job in a mode other than the Local mode and in a distribution other than the Universal distribution, a Storage component, typically a tHDFSConfiguration component, is required in the same Job so that Spark can use this component to connect to the file system to which the jar files dependent on the Job are transferred.
You can also create these types of Jobs by writing their Job scripts in the Jobscript view and then generate the Jobs accordingly. For more information on using Job scripts, see Talend Job scripts reference guide.
Did this page help you?
If you find any issues with this page or its content – a typo, a missing step, or a technical error – let us know how we can improve!