
Adding the latest Big Data Platform dynamically (Dynamic Distributions)
In Talend Studio, if there is no support for the Big Data Platform you want to use, follow the procedure explained below to add this distribution yourself to make it available to Talend Studio.
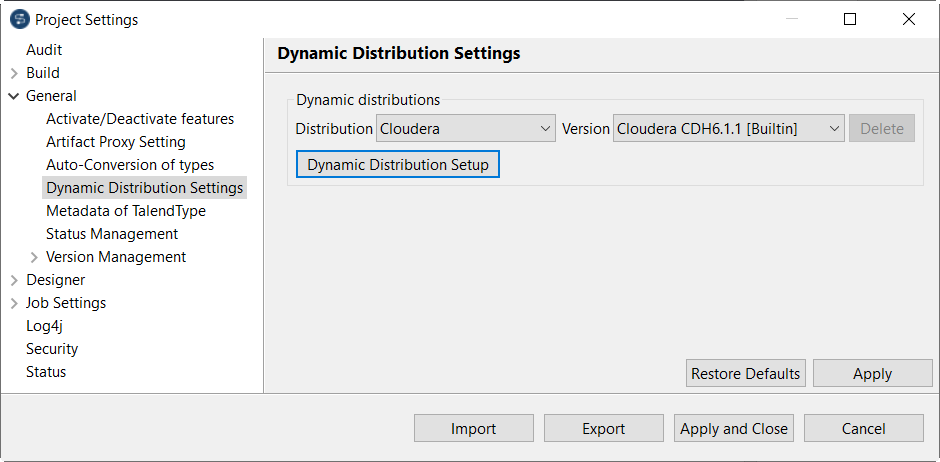
In the current Talend Studio version, you can use this procedure to add the Cloudera and the Hortonworks distributions only. This procedure uses Cloudera to demonstrate how to add a dynamic distribution to Talend Studio.
With this dynamic support feature, you are empowered with more agility and flexibility to use a Cloudera or Hortonworks version that was not released the moment your Talend Studio was released, by simply adding this version yourself through several clicks.
- On the version list of the distributions, some versions are labeled Builtin. These versions were added by Talend via the Dynamic distribution mechanism and delivered with Talend Studio when it was released. They are certified by Talend, thus officially supported and ready to use.
Procedure
-
From the Distribution drop-down list, select
Cloudera.
Results
-
Set up the connection to this dynamic distribution in the Repository and reuse this connection in Talend Jobs.
- Directly use this dynamic distribution in your Jobs. If you build your Job to generate executable files in a zip and need to run the executable files on Windows, do not use the .bat script but use the .ps1 script.
Although you can usually export a Job with its dependencies such as a connection defined in the Repository, the connection to a dynamic distribution cannot be exported the same way. If you need to export such a connection, see Export or import the configuration of a dynamic Big Data platform distribution.
Did this page help you?
If you find any issues with this page or its content – a typo, a missing step, or a technical error – let us know how we can improve!