Skip to main content Skip to complementary content
Close announcements banner

Migrating the database for a group of reports

About this task

If you import your reports or project from an older version of Talend Studio, you must migrate the database in order to be able to store the report data in the defined database. The version of the distant database must always match that of Talend Studio.

If you have imported a big number of reports, you can do a simultaneous update of the database for a group of reports as this will be less time consuming.

Prerequisite(s): You have already migrated your reports or your project from an older version of Talend Studio as outlined in Importing data profiling items or projects. You have selected the Profiling perspective.

To migrate the database for a group of reports, do the following:

Procedure

  1. In the menu bar, select Window > Preferences to display the Preferences window.
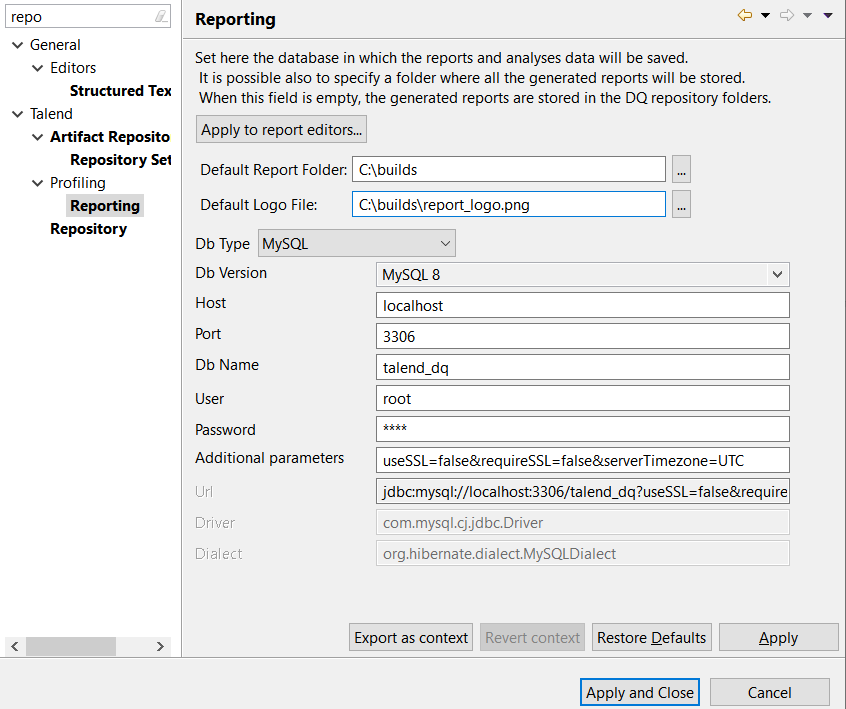
  2. Start typing Reporting in the filter field and then select Reporting from the list to open the Reporting page.
    Overview of the Reporting window.
  3. Set the distant database settings and click Apply to report editors....
    You can export the database settings as a context connection and store it in the Talend Studio repository. For further information, see Using context variables to connect to the report database.
    The Apply to report editors... dialog box is displayed to list all reports migrated or generated in Talend Studio.
  4. Select the check boxes of the reports for which you want to apply the database settings or the context connection and click OK.
    A confirmation message is displayed.
    You can not apply the database connection to a report that is open in the Profiling perspective. An error message appears at the bottom of the dialog box. Clear the report check box to close the error.
  5. Click OK to close the confirmation message.
  6. In the Preferences window, click OK.
    A message is displayed to confirm the successful upgrade of the data mart.
  7. Click OK to close the confirmation message and the Preferences window.

Did this page help you?

If you find any issues with this page or its content – a typo, a missing step, or a technical error – let us know how we can improve!