
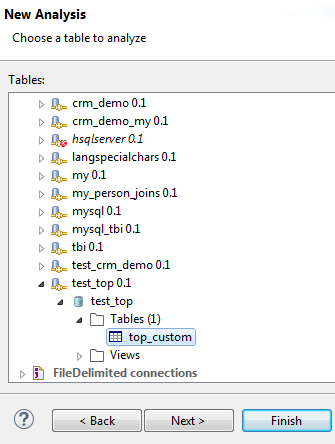
Selecting the table you want to analyze
Procedure
-
Expand DB Connections, browse to the table to analyze and
select it.
-
Click Finish to close the Create New Analysis wizard.
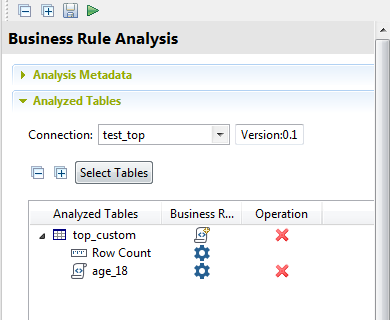
Information noteNote: You can directly select the data quality rule you want to add to the current analysis by clicking the Next button in the New Analysis wizard or you can do that at later stage in the Analyzed Tables view as shown in the following steps.The analysis editor opens with the defined analysis metadata, and a folder for the newly created analysis is displayed under Analyses in the DQ Repository tree view.
-
If required:
- Click Select Tables to open the Table
Selection dialog box and select new tables to analyze.
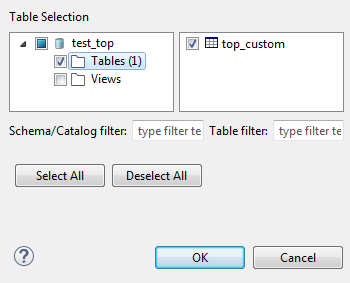
You can filter the table list by typing the desired text in the Table filter field. The list will show only the tables that correspond to the text you type in.
- Select another connection from the Connection list to connect to a different database. This list has all the connections created in Talend Studio. If the tables listed in the Analyzed Tables view do not exist in the new database connection you want to set, you receive a warning message that enables you to continue or cancel the operation.
- Click Select Tables to open the Table
Selection dialog box and select new tables to analyze.
Did this page help you?
If you find any issues with this page or its content – a typo, a missing step, or a technical error – let us know how we can improve!