
Creating a Routelet from scratch
About this task
In Talend Studio Repository tree view, click the Routelets node to expand the Routelets tree.
Procedure
-
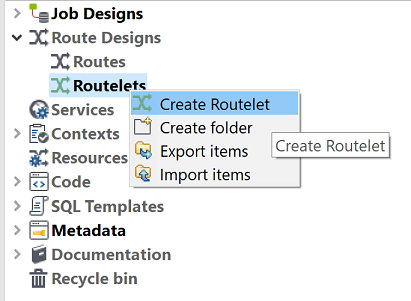
Right-click the
Route Designs>
Routelets node, and select Create
Routelet on the contextual menu.
-
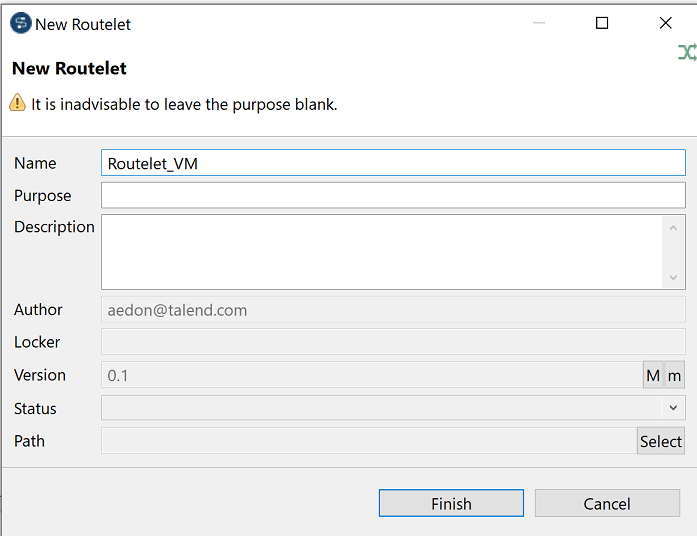
In the New Routelet dialog box, fill in at least the
Name field to designate the Routelet. You can also add
information to ease the Routelet management, such as Purpose
and Description.
Routelet properties Field
Description
Name
Enter a name for your new Routelet. A message comes up if you enter prohibited characters.
Purpose
Enter the Routelet purpose or any useful information regarding the Routelet in use.
Description
Enter a description if need.
Author
This field is read-only as it shows by default the current user login.
Locker
This field is read-only as it shows by default the current user login.
Version
The version is read-only. You can manually increment the version using the M and m buttons.
Status
Select a status from the list. By default, the status you can select is development, testing, or production. To define more statuses, see Status settings.
Path
This field is read-only. It refers to the item access path in the repository. This field is empty when the item is created in the root folder.
-
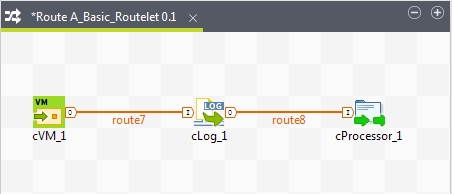
Include the components you need and connect them. Configure the components as you
do in the usual Routes.
Results
Note that you can also include Routelets in a Routelet.
The next step is to use the Routelet you have just created in your usual Route.
Did this page help you?
If you find any issues with this page or its content – a typo, a missing step, or a technical error – let us know how we can improve!