
Activating/Deactivating installed features
This section shows how to activate or deactivate installed features in your
project. An installed feature must be active if you want to use it in your
project.
Procedure
-
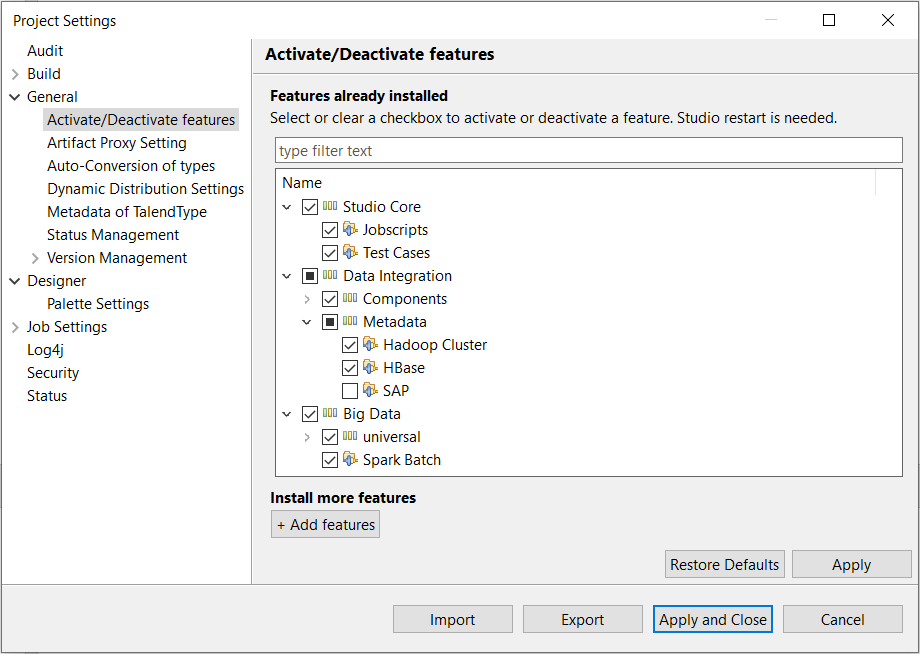
Click from the menu bar, and on the tree view in the Project
Settings dialog box displayed, click to open the corresponding view.
All features already installed are listed in a hierarchy tree view, organized by categories, the same as they are in the Feature Manager.
Did this page help you?
If you find any issues with this page or its content – a typo, a missing step, or a technical error – let us know how we can improve!