
Creating a new port type for a binding
Procedure
-
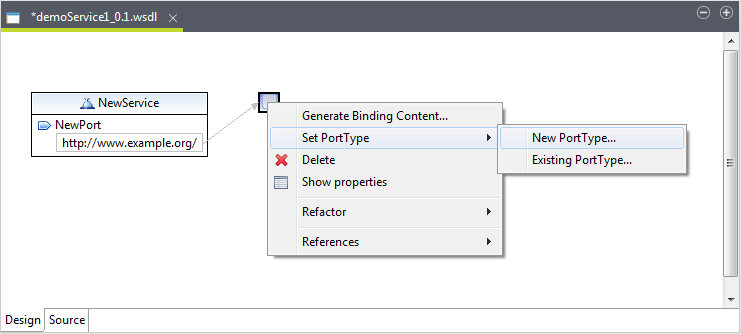
In the design workspace, right-click on a binding object and click .
-
The New PortType wizard displays. Type the name of the port
type in the Name field. The name must be unique name among all
port types defined within the enclosing WSDL file. Click
OK.
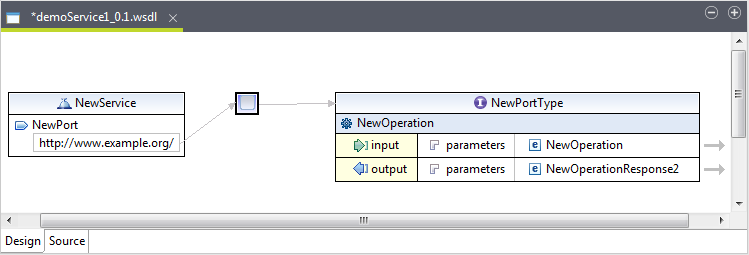
The new port type is created and connected to the binding in the design workspace.
-
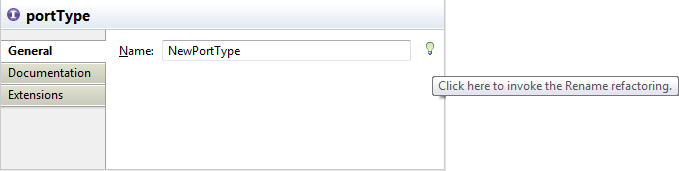
Click the port type object you just created in the design workspace to
show its Properties view.
-
The General tab allows you to define
the name of the port type. To specify the name of the port type, type it
in the Name field or click the bulb
icon beside the Name field to open the
Rename wizard.
When clicking on the bulb icon, a Save All Modified Resources dialog box displays prompting you to save all modified resources before you proceed.
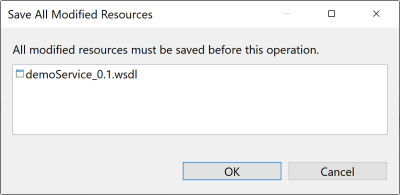 Click OK and the Rename wizard appears.
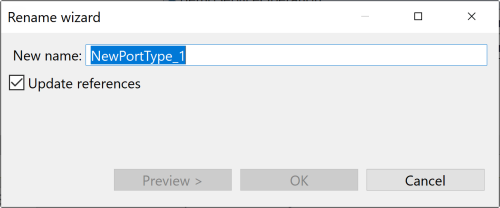 Type in a new name in the New name field. Select the Update references check box to propagate this change to the enclosing WSDL file. Click Preview to view the original source and the refactored source. Click OK to validate the renaming and close the wizard.
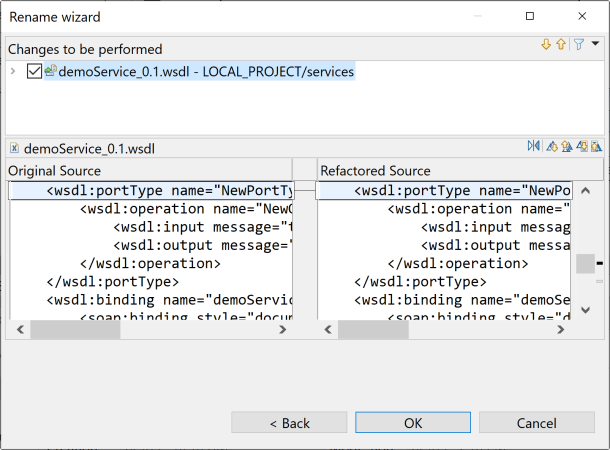
-
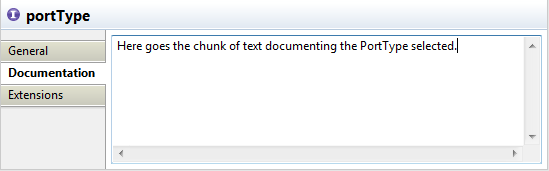
Type any information about the port type you want the user to read in the
Documentation tab.
Results
Once you have created a port type, you can add operations to it to can send and receive messages. For more information, see Creating a new binding.
Did this page help you?
If you find any issues with this page or its content – a typo, a missing step, or a technical error – let us know how we can improve!