
Defining access control at the element level (access control annotation)
Before you begin
-
You have created the data model DStar which holds an entity Agent.
-
You have added elements to the Agent entity.
-
You have created a new custom role called General_Manager.
About this task
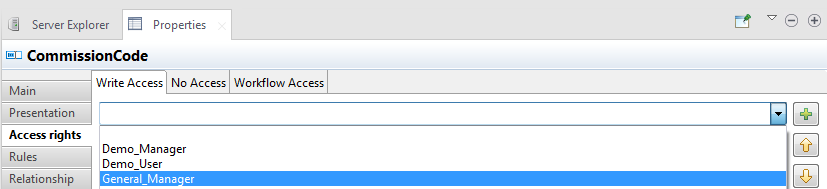
In this example, you want to grant the role General_Manager a write access only to the CommissionCode element in the Agent entity.
Procedure
-
From the Properties view, select the
Access rights tab.
-
Select the role you want to grant the write access and then click the
[+] button to add the role to the
Roles list.
Information noteNote:
For a foreign key element with the Maximum Occurrence value set to a number greater than 1 or set to -1 (which means its maximum number of occurrences is not bounded), you can grant each role the add access and the remove access separately, and the dialog box will look like below.
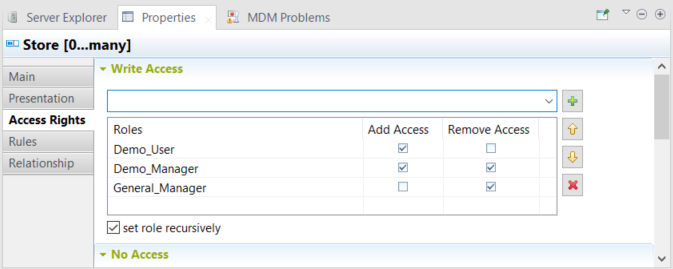
A role with the write access to an element allows you to add and remove the value of that element through Talend MDM Web UI. A role with only the add or remove access to a foreign key element allows you to only add or remove the value of that foreign key element through Talend MDM Web UI.
By default, the Set role recursively check box is selected. This will propagate the security setting to all subelements of the selected node.
Did this page help you?
If you find any issues with this page or its content – a typo, a missing step, or a technical error – let us know how we can improve!