
Installing features using the Feature Manager
This section shows how to install features using the Feature Manager.
Pay attention to the following before installing features to Talend Studio:
- An installed feature must be active if you want to use it in your project. You can activate or deactivate any installed feature in any project and on any branch. For more information, see Activating/Deactivating installed features.
- For a local project, after a feature is installed, by default, it is active only in the current project.
- For a remote project, after a feature is installed, by default, it is active only in the current project on the current branch. When switching between branches, if active features are different between current branch and target branch, Talend Studio will be restarted.
- For a newly created project, all features already installed are active by default.
- When importing or migrating a project from 8.0, Talend Studio automatically installs and activates all features you have installed and activated for the project.
- When importing or migrating a project from 7.3 or earlier, Talend Studio automatically installs and activates all features required by the project items. The features that are independent of the project items cannot be installed automatically, for example, Build Docker image and Publish to artifact repository.
- The feature packages are, by default, downloaded from Talend official site. You can configure the URL of the repository for Talend Studio feature packages. For more information, see Configuring update repositories.
Procedure
-
Click the Feature Manager button on the top bar or
select from the menu.
If an Authentication dialog box for logging in to the update repositories pops up, enter your username and password for the update repositories and click OK. For more information, see Basic authentication for update repositories in Talend Studio.
The Feature Manager wizard opens and displays a hierarchical view of all features that are available and not yet installed based on the license you are using and the type of the project you are working with. The features are organized by categories.
Information noteNote:If Talend Studio detects an update, the Feature Manager will open and display the update installation wizard first. You need to install the update and restart Talend Studio before installing features. For more information, see Updating Talend Studio.
If the Talend Studio update settings are managed by your administrator from Talend Management Console, a message is displayed in the update installation wizard to inform you that the update has been approved in Talend Management Console by your administrator.
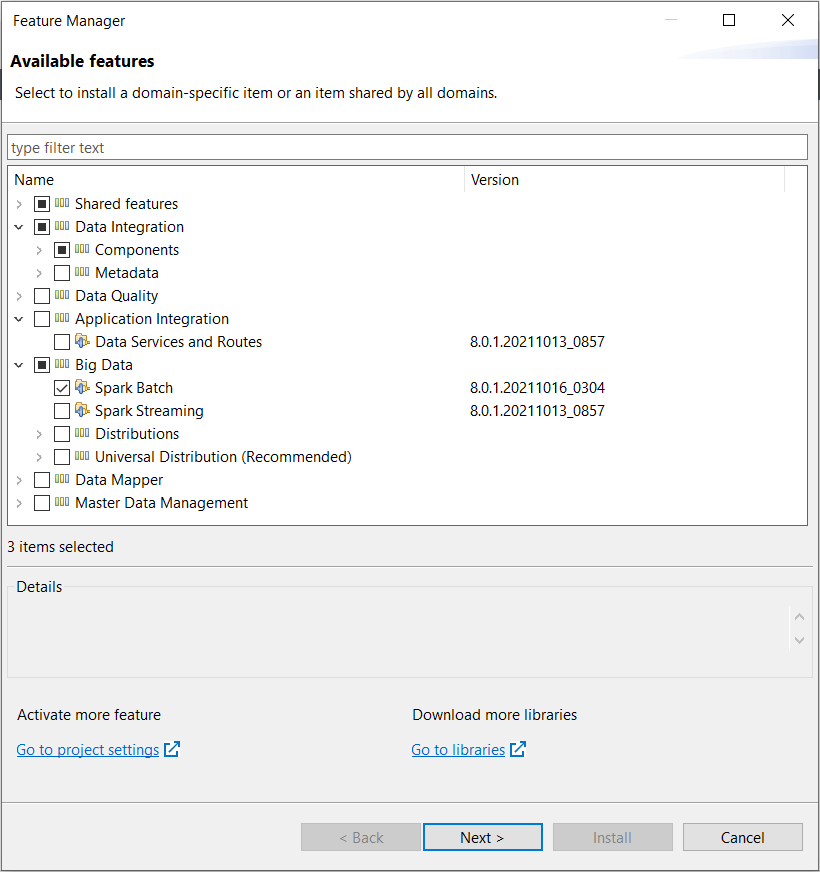
You can click Go to project settings to open the Activate/Deactivate features view in the Project Settings dialog box, where you can activate or deactivate any feature already installed in your current project.
You can also click Go to libraries to open Installing all external modules in one go, where you can install all third-party libraries in one go.
-
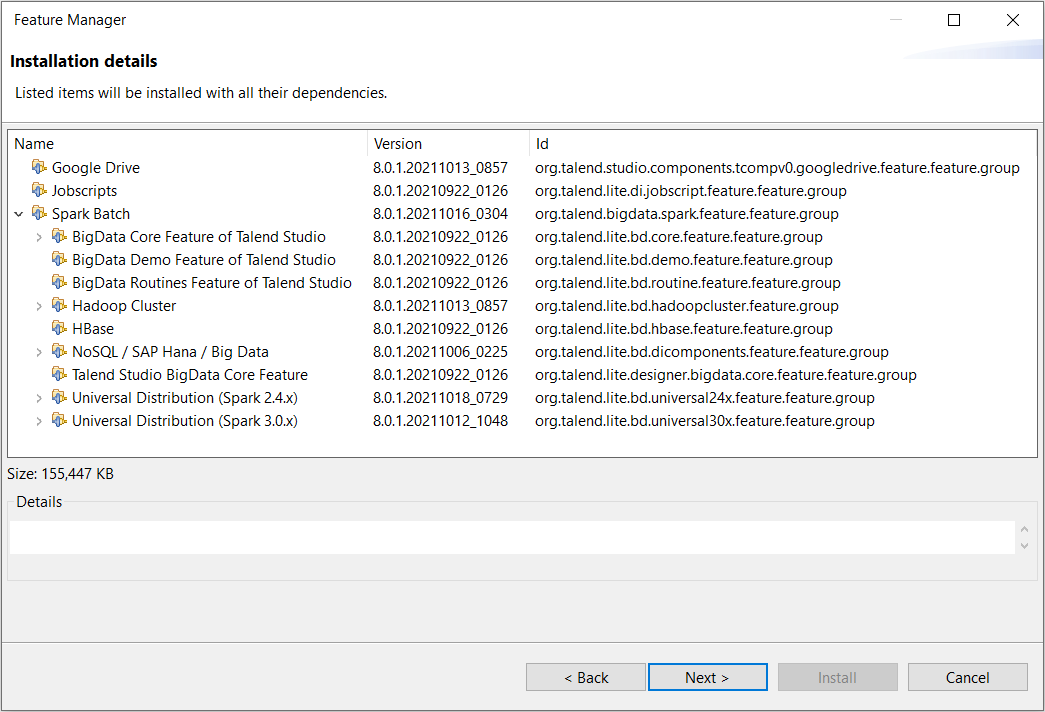
Click Next.
A summary of all features you have selected and their dependencies are listed and can be reviewed.
The required disk space for installing the selected features and their dependencies is displayed under the list. Make sure there is enough space available on the disk to complete this operation.
Did this page help you?
If you find any issues with this page or its content – a typo, a missing step, or a technical error – let us know how we can improve!