
Signing commits and tags with GPG in the standard Git storage mode
Talend Studio
supports enabling Git signature verification and signing commits and tags with GPG in
the standard Git storage mode.
Before you begin
- The standard Git storage mode has been enabled in Talend Studio. For more information, see Enabling the standard Git storage mode.
- A GPG key has been generated for Git signature verification. For more
information, see Generating a new GPG key.Information noteTip: You must note down the passphrase you use when generating a new GPG key. You need to enter the passphrase to unlock the GPG secret key in Talend Studio after enabling Git signature verification.
About this task
To enable Git signature verification in Talend Studio, do the following:
Procedure
-
If you want to enable Git signature verification on a specific repository, add
the corresponding local repository in the Git
Repositories view as the following.
-
Click
 in the upper-right corner of the Git
Repositories view to open the Add Git
Repositories dialog box.
in the upper-right corner of the Git
Repositories view to open the Add Git
Repositories dialog box.
-
Click
-
On the tree view in the Preferences dialog box, click to display the relevant view.
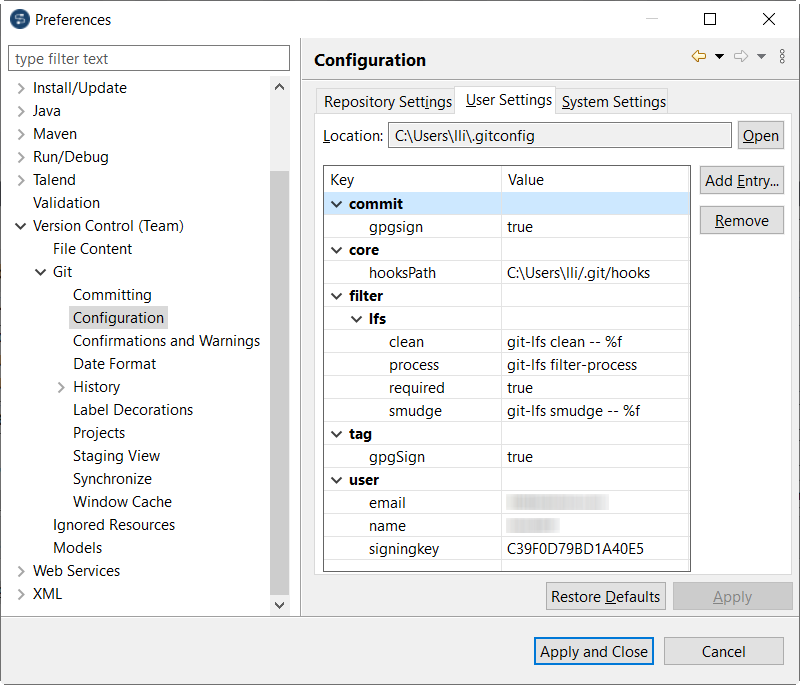
-
Click Apply and Close to save all your changes and close
the Preferences dialog box.
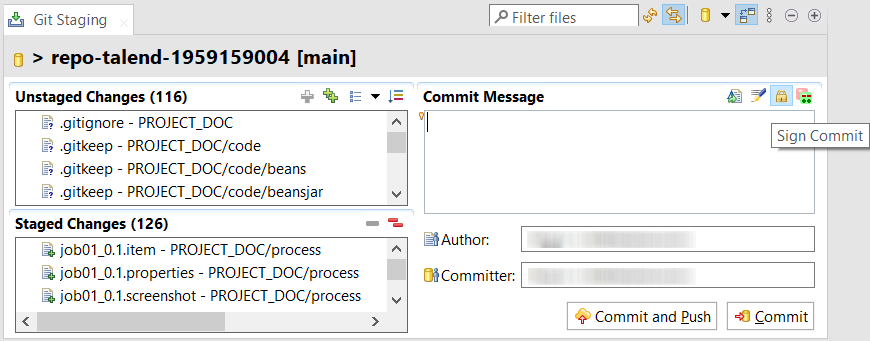
Git signature verification is now enabled and all commits and tags will be signed.
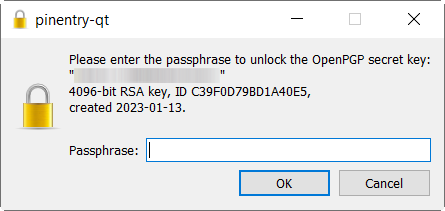
Later, when you commit a change or create a new tag for the first time after enabling Git signature verification, a dialog box pops up, and you need to enter the passphrase you use when generating the GPG key.
Note that commits will not be signed if the Sign Commit button is disabled in the Git Staging view.
Did this page help you?
If you find any issues with this page or its content – a typo, a missing step, or a technical error – let us know how we can improve!