
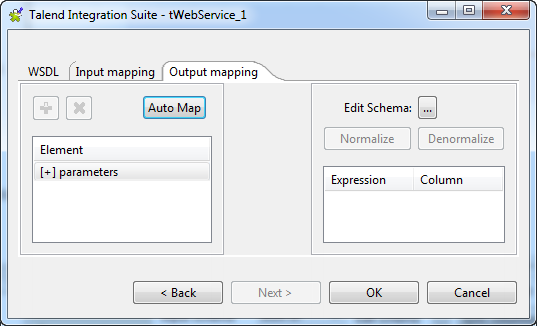
Configuring the output mapping
Procedure
-
Click Next to open a new view in the
editor.
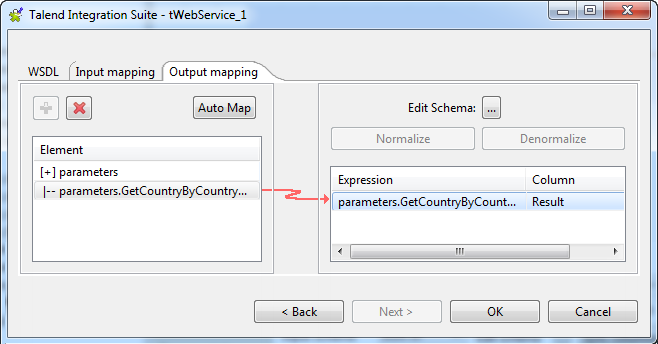
 In the Element list to the left of the view, the output parameter of the web service displays automatically. However, you can add other parameters if you select [+] parameters and then click the plus button on top to display the Parameter Tree dialog box where you can select any of the parameters listed.The Web service in this example has only one output parameter: GetCountryByCountryCodeResult.
 -
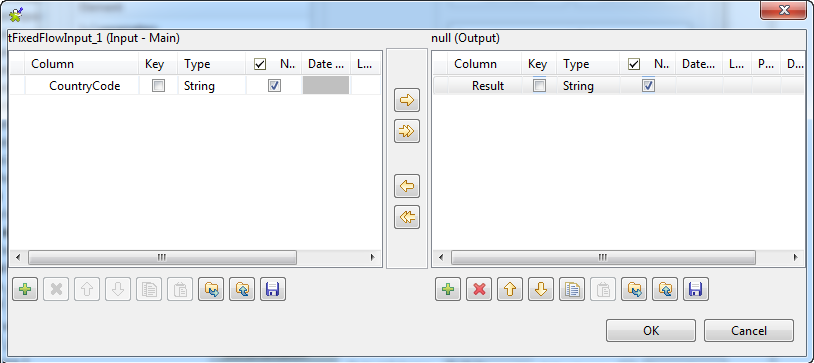
Click in the column and type in a name, Result in
this example. This will retrieve the names of the country.
-
In the Element list to the right of the
editor, drag parameters.GetCountryByCountryCodeResult to the field that
corresponds to the Result column to the
right of the editor.
 Information noteNote:
If available, use the Auto map! button, located at the bottom left of the interface, to carry out the mapping operation automatically.
Did this page help you?
If you find any issues with this page or its content – a typo, a missing step, or a technical error – let us know how we can improve!