
Centralizing Azure Storage metadata
About this task
You can use the Azure Storage metadata wizard provided by Talend Studio to set up quickly a connection to Azure Storage and retrieve the schema of your interested container(s), queue(s), and table(s).
Procedure
-
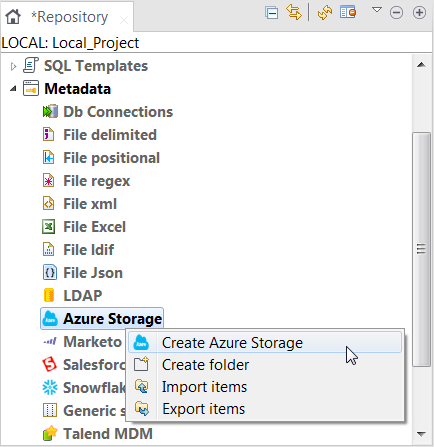
In the Repository tree view, expand the
Metadata node, right-click the Azure
Storage tree node, and select Create Azure
Storage from the contextual menu to open the Azure
Storage wizard.
-
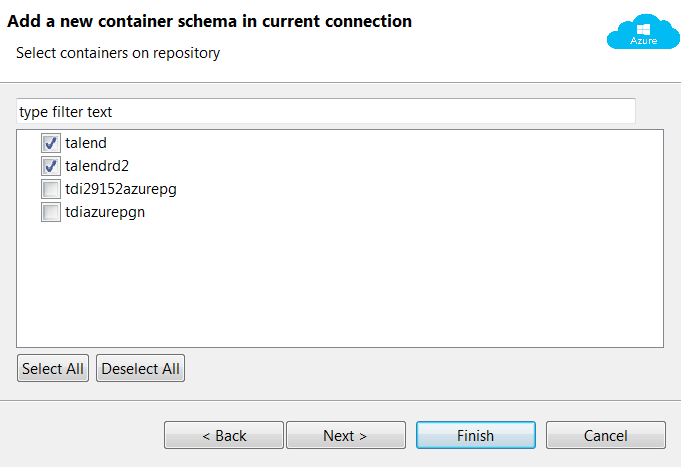
Click Next and in the Add a new container
schema in current connection dialog box displayed, select your
interested container(s) whose schema you want to retrieve.
-
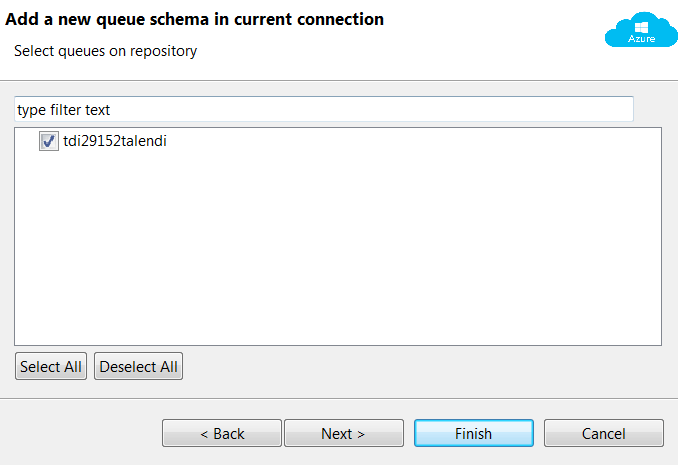
Click Next and in the Add a new queue schema
in current connection dialog box displayed, select your
interested queue(s) whose schema you want to retrieve.
-
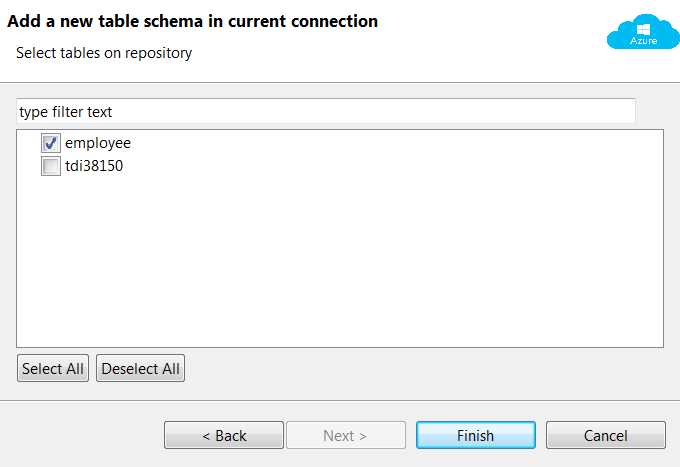
Click Next and in the Add a new table schema
in current connection dialog box displayed, select your
interested table(s) whose schema you want to retrieve.
-
Click Finish to complete the procedure.
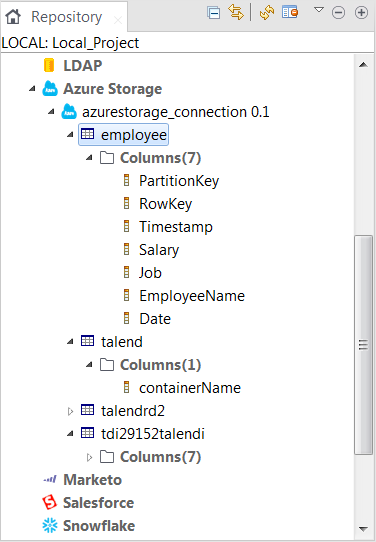
The newly created Azure Storage connection is displayed under the Azure Storage node in the Repository tree view, along with the schema of your interested container(s), queue(s), and table(s).
 You can now add a Azure Storage component onto the design workspace by dragging and dropping the Azure Storage connection created or any container/queue/table retrieved from the Repository view to reuse the connection and/or schema information. For more information about dropping component metadata in the design workspace, see Using centralized metadata in a Job. For more information about the usage of the Azure Storage components, see the related documentation for the Azure Storage components.To modify the Azure Storage connection metadata created, right-click the connection node in the Repository tree view and select Edit Azure Storage from the contextual menu to open the metadata setup wizard.To edit the schema of an interested container/queue/table, right-click the container/queue/table node in the Repository tree view and select Edit Schema from the contextual menu to open the update schema wizard.
Did this page help you?
If you find any issues with this page or its content – a typo, a missing step, or a technical error – let us know how we can improve!