
Handling uncommitted items in the Git Staging view
About this task
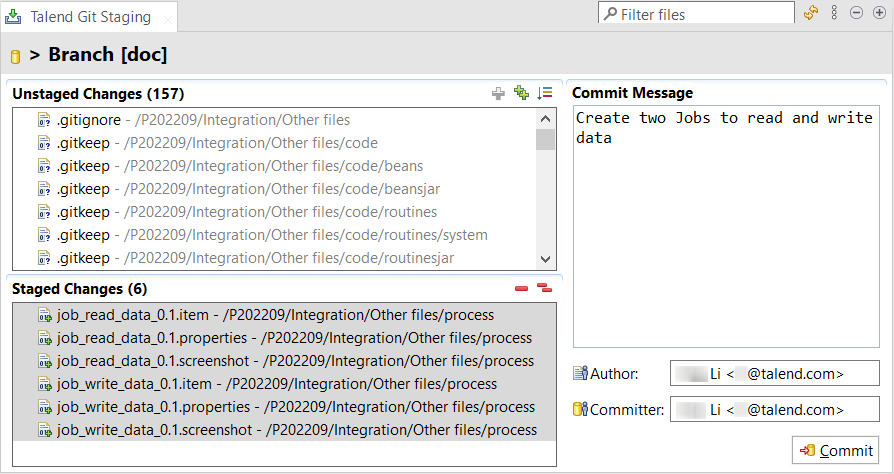
In the Talend Git Staging view, you can manage your changes based on your needs before committing them to Git.
Note that if you have installed the 8.0 R2022-09 Talend Studio monthly update or a later one provided by Talend, the email instead of the login name in Talend Management Console is used as the Git author and committer.
Procedure
-
In the Unstaged Changes
area:
- Right-click an item and select Add to Index from the
contextual menu to move the item to the Staged Changes area
to make the item ready to commit.
Alternatively, you can click the
 icon to add the selected items to the Staged
Changes area, or click the
icon to add the selected items to the Staged
Changes area, or click the  icon to add all the unstaged items to the Staged
Changes area.
icon to add all the unstaged items to the Staged
Changes area. - Right-click an item and select Compare with
Index compare the changes on the item with the staged
version.
If the item has not been previously added to the Staged Changes area, a comparison will be made with the head version.
The compare view opens, where you can compare your changes with the staged version or the head version and handle them in the same way as resolving conflicts. For details, see Resolving conflicts in compare editors.
- Right-click an item and select Replace with
Index from the contextual menu to replace the changes on the
item with the staged version.
A Discard Local Changes dialog box opens. If you click Discard Changes, the item will be removed from the Unstaged Changes area.
- Right-click an item and select Delete, if available, to delete it physically.
Alternatively, you can delete such an item by selecting it and pressing the Delete key.
Items that do not have the Delete option on the contextual menu can be deleted only in the Repository tree view.
- Right-click an item and select Add to Index from the
contextual menu to move the item to the Staged Changes area
to make the item ready to commit.
-
In the Staged Changes
area:
- Right-click an item and select Compare with
Head Version compare the changes on the item with the head
version.
The compare view opens, where you can compare your changes with the head version and handle them in the same way as resolving conflicts. For details, see Resolving conflicts in compare editors.
- Right-click an item and select Remove from Index from
the contextual menu to move the item back to the Unstaged
Changes area.
Alternatively, you can click the
 icon to move the selected items back to the Unstaged
Changes area, or click the
icon to move the selected items back to the Unstaged
Changes area, or click the  icon to move all the staged items back to the Unstaged Changes
area.
icon to move all the staged items back to the Unstaged Changes
area.
- Right-click an item and select Compare with
Head Version compare the changes on the item with the head
version.
-
In either the Unstaged
Changes or Staged Changes
area,
- Right-click an item and select Replace with
Head Version from the contextual menu to replace the changes
on the item with the head version.
A Discard Local Changes dialog box opens. If you click Discard Changes, the item will be removed from the Unstaged Changes or Staged Changes area.
- Right-click an item and select Copy Path to copy the repository tree path of the item to the clipboard.
- Right-click an item and select Replace with
Head Version from the contextual menu to replace the changes
on the item with the head version.
- View and copy the author name and committer name of the item.
Did this page help you?
If you find any issues with this page or its content – a typo, a missing step, or a technical error – let us know how we can improve!