Skip to main content Skip to complementary content
Close announcements banner

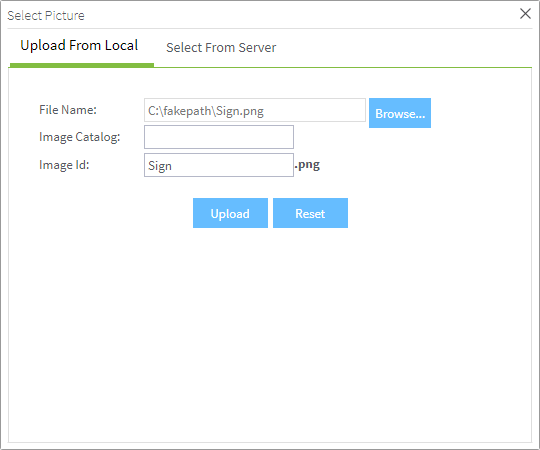
Uploading a new image to the Catalog

Availability-noteDeprecated

About this task

To upload a new picture to the Catalog:

Procedure

  1. In the Data Browser, open the data record for which you want to upload a new picture.
  2. Click the icon to open the Select Picture dialog box.

    Example

  3. In the Upload From Local tab, click the Browse button, and browse your local file system to find the image file you want to upload.
  4. In the Image Catalog field, specify the name of the Catalog in which you want to store your picture.
    Catalogs are like virtual folders and help you find your pictures more easily.
  5. In the Image Id field, either select the default name proposed or replace it with a new name of your choice.
  6. Click Upload to upload your new picture to the server.
    After selecting a picture for the data record, a thumbnail view of the picture is displayed when you open the data record. If needed, click the picture to have a full view of it. You can also maximize or close the full view of the picture by clicking the buttons in the upper right corner.

Did this page help you?

If you find any issues with this page or its content – a typo, a missing step, or a technical error – let us know how we can improve!