
Autogenerating documentation
In Talend Studio, you can set permanent parameters for the auto-documentation to be generated every time a Job or Route is created, saved or updated. To set up the automatic generation of a Job/Joblet or Route documentation, proceed as follows:
- Click .
- Select the check box Automatic update of corresponding documentation of Job/joblet.
- Click OK if no further customizing of the generated
documentation is required.
Now every time a Job or Route is created, saved or updated, the related documentation is generated.
The generated documents are shown directly in the Documentation folder of the Repository tree view.
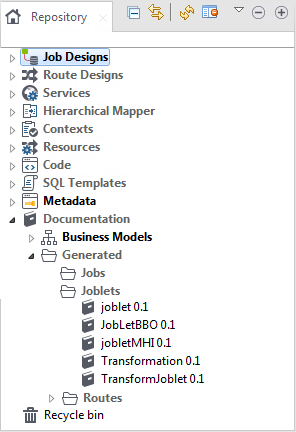
To open automatically generated Job/Joblet or Route documentation, proceed as follows:
- Click the Documentation node in the Repository tree view.
- Then look into the Generated folder where all Routes, Jobs and Joblets auto-documentation is stored.
- Double-click the relevant Route, Job or Joblet label to open the corresponding HTML file as a new tab in the design workspace.
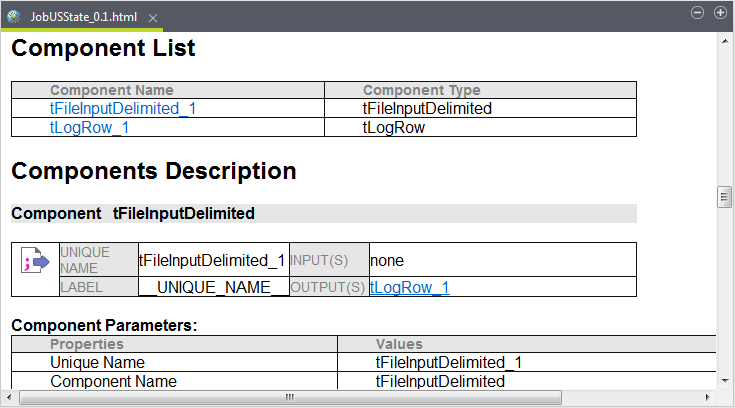
This documentation gathers all information related to the Route, Job or Joblet. You can then export the documentation in an archive file as HTML and PDF:
- In the Repository tree view, right-click the relevant documentation you want to export.
- Select Export documentation to open the export wizard.
- Browse to the destination location for the archive to create.
- Click Finish to export.
The archive file contains all needed files for the Html to be viewed in any web browser.
In addition, you can customize the autogenerated documentation using your own logo and company name with different CSS (Cascading Style Sheets) styles. The destination folder for HTML will contain the html file, a css file, an xml file and a pictures folder. To do so:
- Go to .
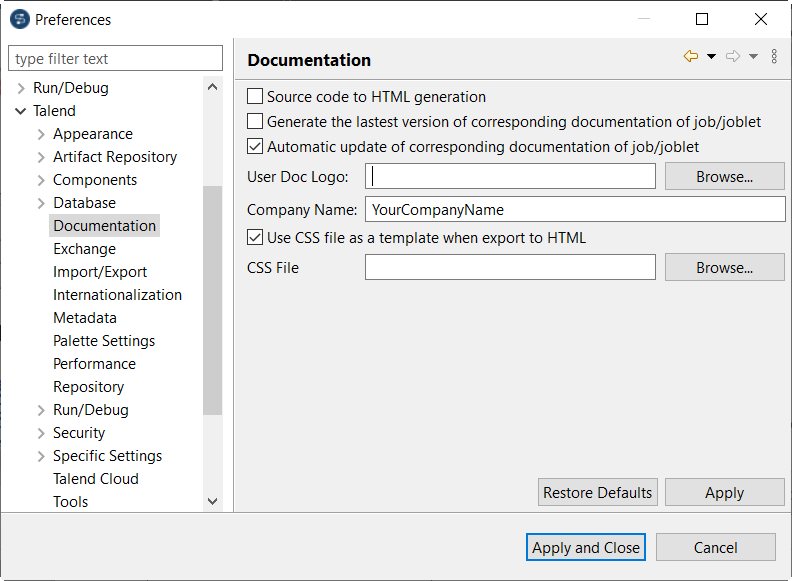
- In the User Doc Logo field, browse to the image file of your company logo in order to use it on all auto-generated documentation.
- In the Company Name field, type in your company name.
- Select the Use CSS file as a template when export to HTML check box to activate the CSS File field if you need to use a CSS file.
- In the CSS File field, browse to, or enter the path to the CSS file to be used.
- Click Apply and then OK.
Did this page help you?
If you find any issues with this page or its content – a typo, a missing step, or a technical error – let us know how we can improve!