
Fields tab
This tab is available for an NT target or for an AS/400 IBMi target table accessed using SQL.
About this task
If the table does not have the same field/column names as those defined in the file to distribute, this tab enables you to match the fields in the output buffer O with the columns in the destination table.
Information noteNote: You can use the transformation tool to redefine the output buffer O
entirely, and therefore change the field/column names. For more details, see Selection, Clean up and Transformation.
Procedure
- To complete the mapping, select the fields you want to replicate:
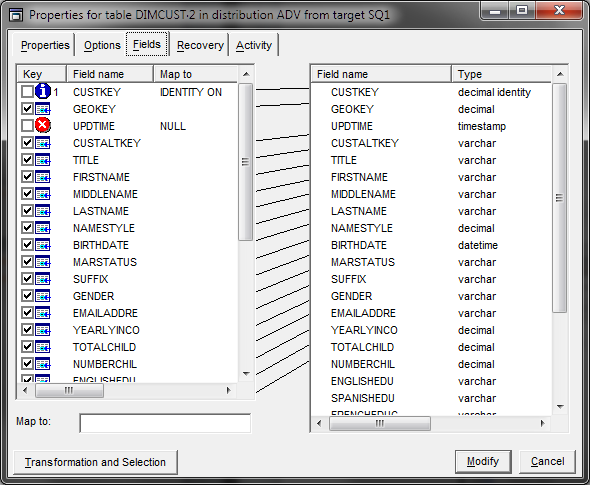 When the target is an SQL Server database and if the target column is of the identity type, the source column is set on IDENTITY ON mode and marked with a specific icon.Information noteNote: An identity-type target column must have the same name as the source column.When the target is an SQL Server database and if the target columns are timestamped, it is forbidden to insert data in it. The source column is marked as NULL.If the target table does not exist, you can select the fields it will contain before creating it, and change the target field names.In the next figure, the CUSTMBROPT field is cleared, and the DESCRIP has been changed to Description.A field that is not selected is marked as NULL.
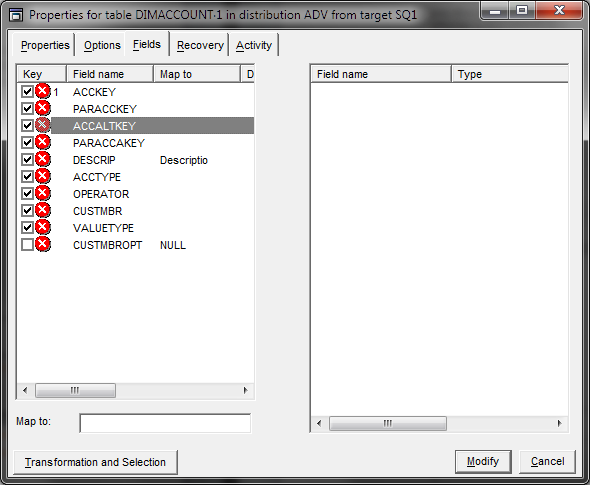 When you click the DESCRIP field in the right column, the DESCRIP field in the output buffer O is mapped to the Description field in the destination table. The name Description then appears in the Map to column against the DESCRIP field which is no longer marked in red.The Map to input field at the bottom of the window is used to map by typing in the data rather than selecting it with the mouse. You can also use it to undo a mapping by clearing the Map to field corresponding to the highlighted field.Deselect a zone when it does not exist in the target table and no zone exists to host it.It is then automatically mapped to the virtual field NULL, meaning that it will be ignored in the SQL query.
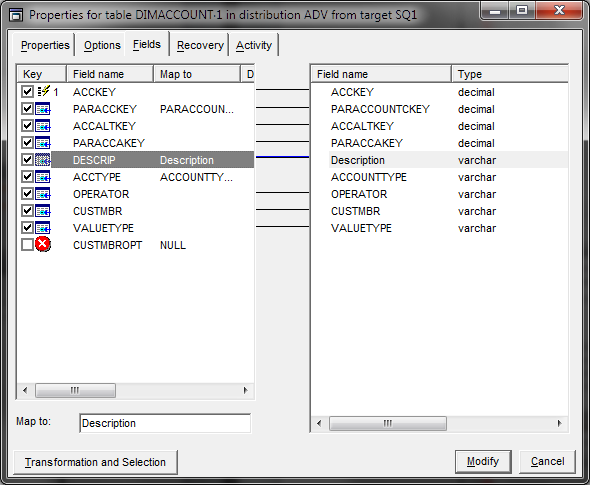
Did this page help you?
If you find any issues with this page or its content – a typo, a missing step, or a technical error – let us know how we can improve!