Skip to main content Skip to complementary content

Configuring the input component

Procedure

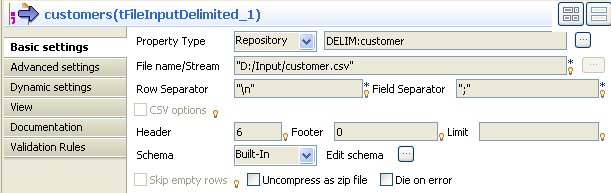
  1. Double-click tFileInputDelimited to open its Basic settings view. All its property fields are automatically filled in because you defined your input file locally.
  2. If you do not define your input file locally in the Repository tree view, fill in the details manually after selecting Built-in in the Property type list.
  3. Click the [...] button next to the File Name field and browse to the input file, customer.csv in this example.
    Information noteWarning:

    If the path of the file contains some accented characters, you will get an error message when executing your Job.

  4. In the Row Separators and Field Separators fields, enter respectively "\n" and ";" as line and field separators.
  5. If needed, set the number of lines used as header and the number of lines used as footer in the corresponding fields and then set a limit for the number of processed rows.
    In this example, Header is set to 6 while Footer and Limit are not set.
  6. In the Schema field, schema is automatically set to Repository and your schema is already defined since you have stored your input file locally 
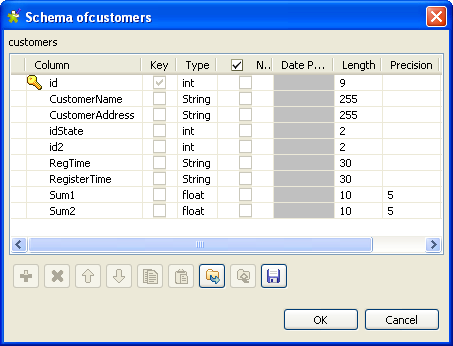
for this example. Otherwise, select Built-in and click the [...] button next to Edit Schema to open the Schema dialog box where you can define the input schema, and then click OK to close the dialog box.

Did this page help you?

If you find any issues with this page or its content – a typo, a missing step, or a technical error – let us know how we can improve!