
Creating a Native Connection to Snowflake
Procedure
-
Right-click and select the Create Snowflake menu
option.
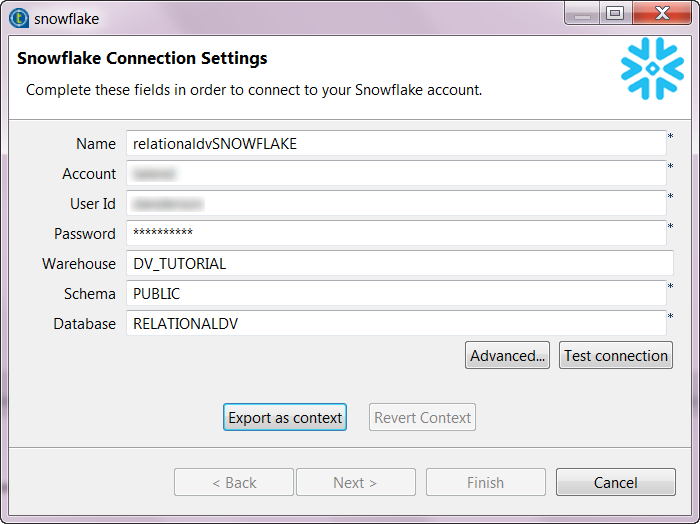
This opens the Connection definition dialog box.
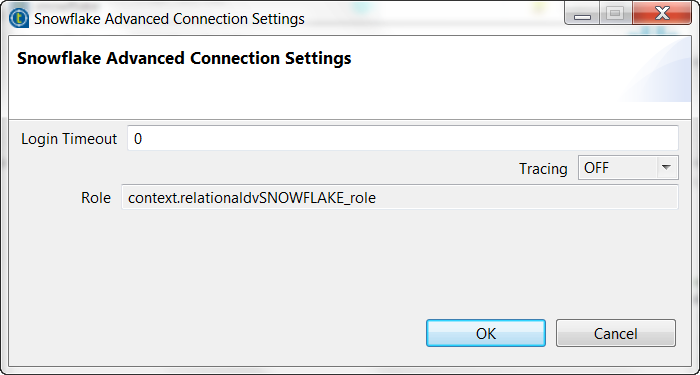
-
Click OK.
The following example shows the dialog box once it has been exported as a Context Group.

-
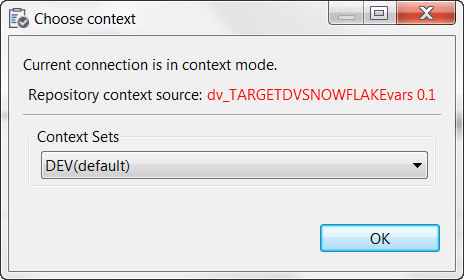
Once a context group is created, test each connection to ensure validity.
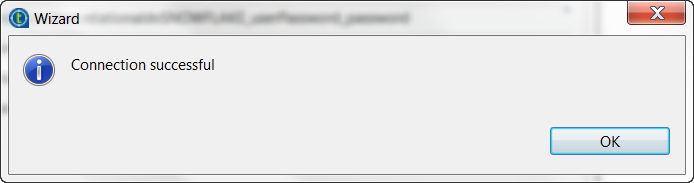
It is advisable to test connections before exporting them as a context, however once the context group is created, you can set up different contexts by environment (a best practice).A dialog box appears indicating when the Snowflake database connection is valid.
-
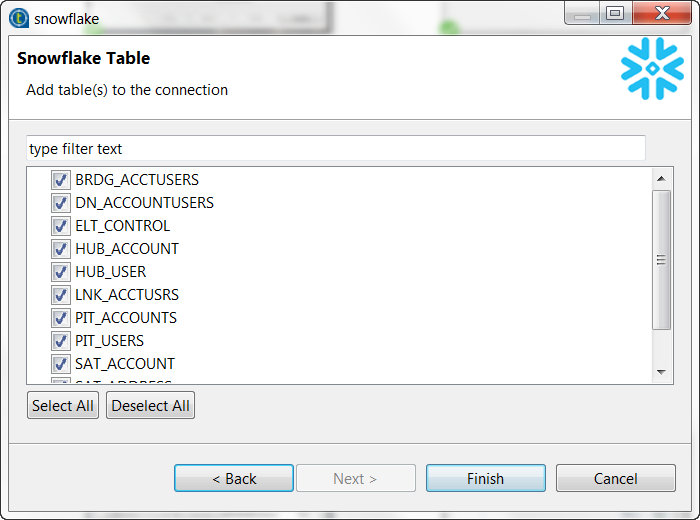
Select the tables of interest then click Finish.
Results
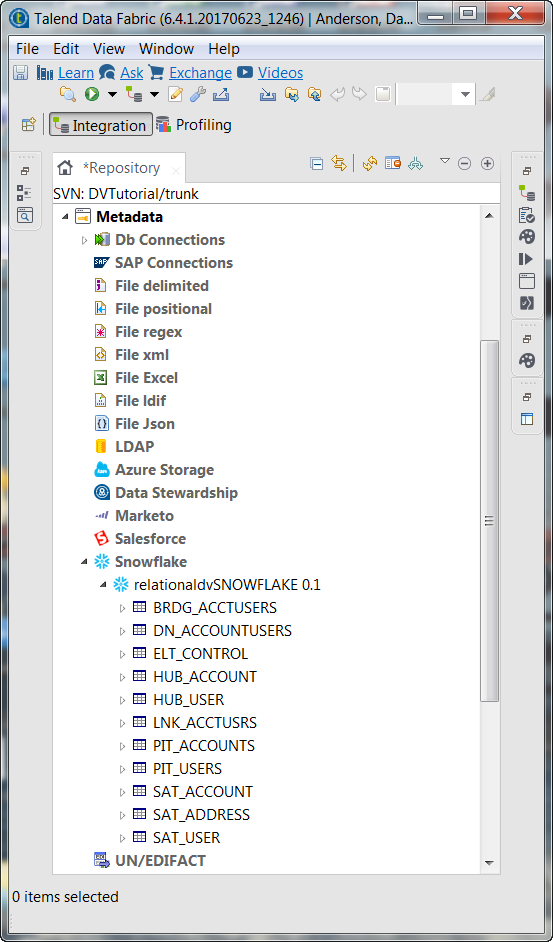
The result is a Snowflake connection definition usable in Talend Jobs that allows access to the selected
tables. You can see these listed in the Project Repository under the connection
definition.
Did this page help you?
If you find any issues with this page or its content – a typo, a missing step, or a technical error – let us know how we can improve!