
Setting the schema and selecting an address provider
Procedure
-
Double-click tBatchAddressRowCloud to
display the Basic settings view and define
the component properties.

-
Click the Edit schema button to open the
schema dialog box.
tBatchAddressRowCloud proposes several predefined read-only address columns as shown in the below capture.
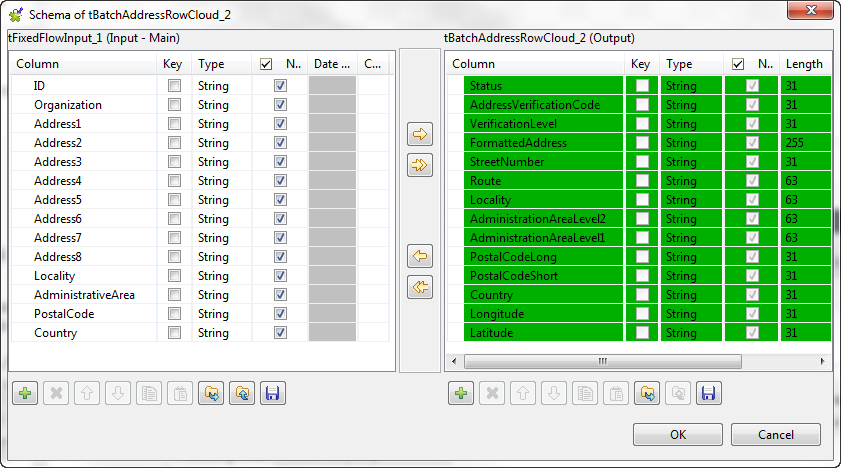 The STATUS column returns the status of processing input addresses. For further information about process status, see Process status in tLoqateAddressRow .The AddressVerificationCode column returns the verification code for the processed address. For further information about what values this code is made up of and the implications of each segment, see Address verification codes in tLoqateAddressRow .The VerificationLevel output column provides you with a verification status of the processed addresses. For further information, see Address verification levels in tAddressRowCloud.
Did this page help you?
If you find any issues with this page or its content – a typo, a missing step, or a technical error – let us know how we can improve!