
Configuring the components
Procedure
-
Double-click tFixedFlowInput to open its
Basic settings view.
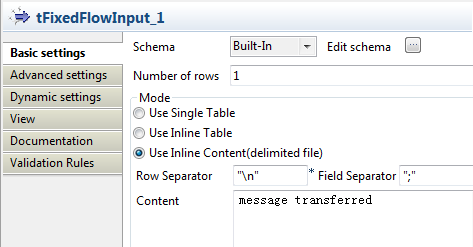 Select Use Inline Content (delimited file) in the Mode area.In the Content field, enter the content of the message to be sent to the ActiveMQ server:
message transferred -
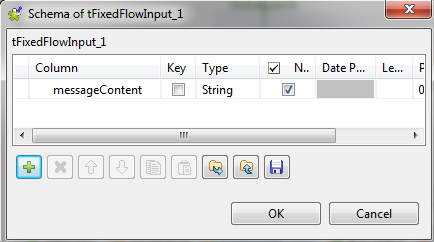
Click the Edit schema button to open the
schema editor.
-
Now appears the pop-up box that asks for schema propogation.
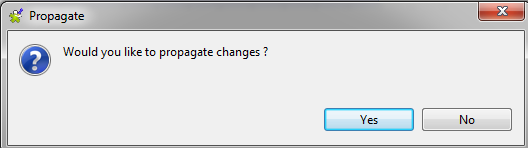 Click Yes to propagate the schema to the subsequent component.
 -
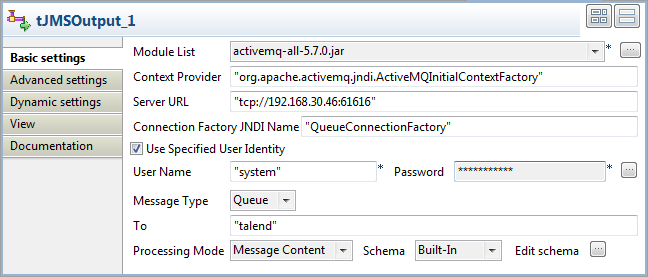
Double-click JMSOutput to open its
Basic settings view.
-
Perform the same setup in the Basic
settings view of JMSInput.

Did this page help you?
If you find any issues with this page or its content – a typo, a missing step, or a technical error – let us know how we can improve!