Skip to main content Skip to complementary content

Configuring the components

Procedure

  1. Double-click the cAWSConnection component to display its Basic settings view in the Component tab.
  2. In the Access Key and Secret Key fields, enter the authentication credentials of your AWS account. For how to get your Access Key and Access Secret, see Access keys (access key ID and secret access key).
  3. Double-click the cTimer labeled repeat=2 to open its Basic settings view in the Component tab.
  4. In the Repeat field, enter 2 to generate the message exchange twice. Keep the default settings of the other options.
  5. Configure the cTimer labeled repeat=3 in the same way to generate the message exchange three times.
  6. Double-click the cSetBody component labeled body=hello to open its Basic settings view in the Component tab.
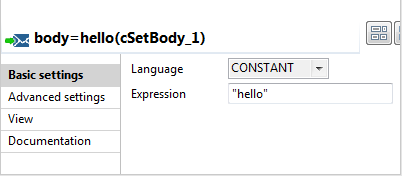
  7. Select CONSTANT from the Language list and type in hello in the Expression field as the message body.
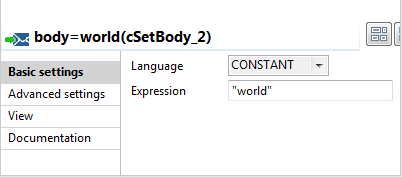
  8. Configure the cSetBody labeled body=world in the same way to set the message body as world.
  9. Double-click the cAWSSQS labeled Producer_1 to open its Basic settings view in the Component tab.
  10. In the Connection list, select the cAWSConnection component that you have just configured to connect to Amazon's SQS service.
    In the Queue Name field, type in the name of the SQS queue to send the messages.
  11. Configure the cAWSSQS labeled Producer_2 with the same properties to send the messages to the same queue.
  12. Press Ctrl+S to save your Route.

Did this page help you?

If you find any issues with this page or its content – a typo, a missing step, or a technical error – let us know how we can improve!