Creating a Route as Service Provider with JWT validation using Microsoft
Entra ID
Procedure
From the Palette, drag and drop a
cBeanRegister, a cREST, a
cRecipientList, five cDirect,
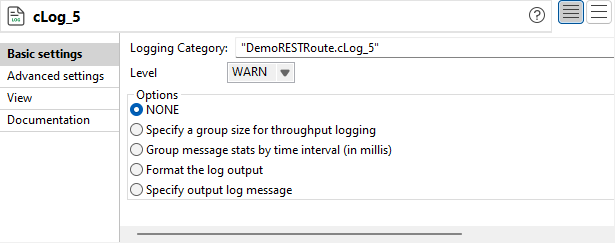
cSetBody, and cLog components onto the design workspace.
Label the components for better identification of their roles and link
the them using the Row > Route connection as shown above.
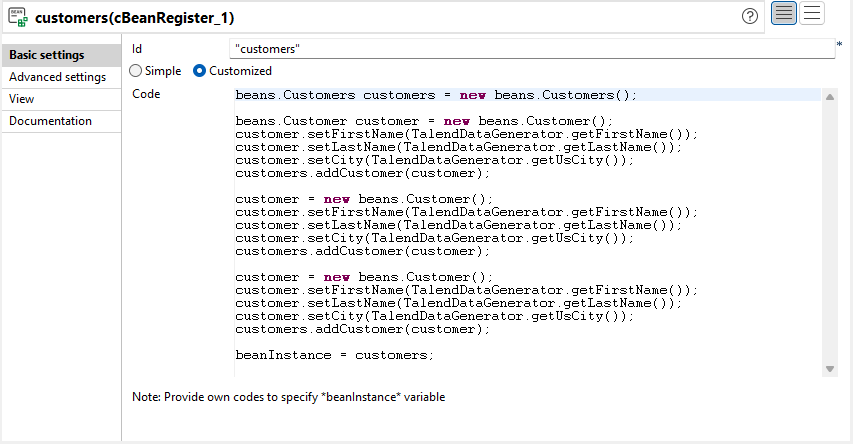
In the Basic settings view of the cBeanRegister component, enter
"customers" in the Id
field. Select the Customized option and in the
Code box, enter the following code:
beans.Customers customers = new beans.Customers();

beans.Customer customer = new beans.Customer();
customer.setFirstName(TalendDataGenerator.getFirstName());
customer.setLastName(TalendDataGenerator.getLastName());
customer.setCity(TalendDataGenerator.getUsCity());
customers.addCustomer(customer);

customer = new beans.Customer();
customer.setFirstName(TalendDataGenerator.getFirstName());
customer.setLastName(TalendDataGenerator.getLastName());
customer.setCity(TalendDataGenerator.getUsCity());
customers.addCustomer(customer);

customer = new beans.Customer();
customer.setFirstName(TalendDataGenerator.getFirstName());
customer.setLastName(TalendDataGenerator.getLastName());
customer.setCity(TalendDataGenerator.getUsCity());
customers.addCustomer(customer);

beanInstance = customers;
In the Basic settings view of
the cREST component:
Fill the Endpoint field with
"/services/customers".
From the Type list, select Manual to determine the REST API mapping
manually.
In the REST API mapping table, click
[+] to add a row in the table. In the
Output Flow field, enter
getAllCustomers as the name of it. Select
GET in the HTTP Verb list.
Keep the default settings in the other columns.
Repeat the previous step to add the output flows
getCustomer, addCustomer,
updateCustomer, and
deleteCustomer with the corresponding HTTP
Verb, URI Pattern,
Consumers, Producers, and
Bean class as shown in the screenshot above.
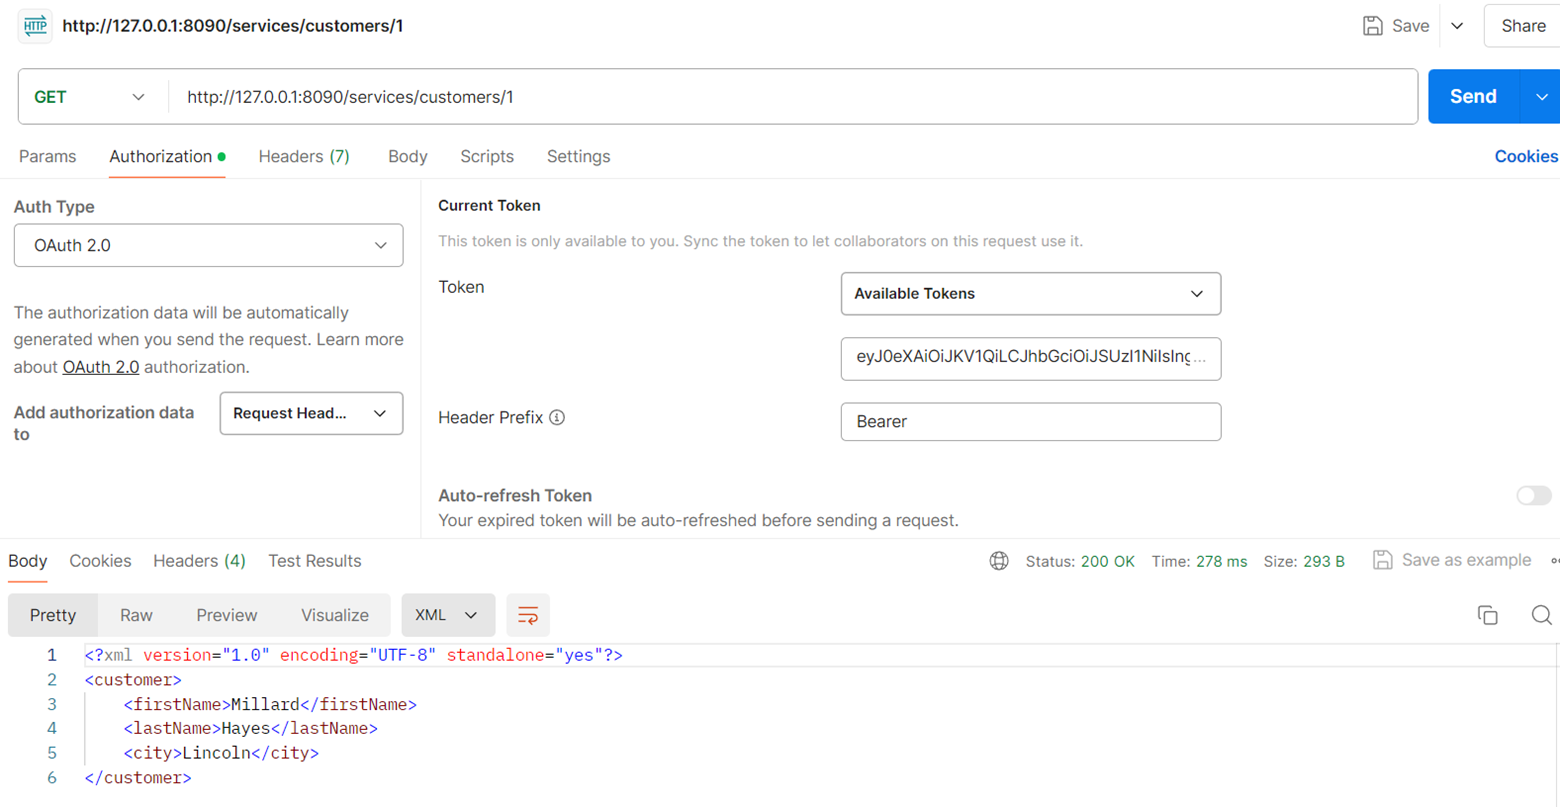
Select the Security check box and the JWT
Bearer Token scheme.
Select Java Keystore (*.jks) in the
Keystore Type list.
In the Keystore file field, enter the path to your
keystore.
In the Keystore Password field, enter your keystore
password.
In the Keystore Alias field, enter your keystore
alias.
In the Audience field, enter the Audience value you
get from https://login.microsoftonline.com/<tenant
ID>/oauth2/token.
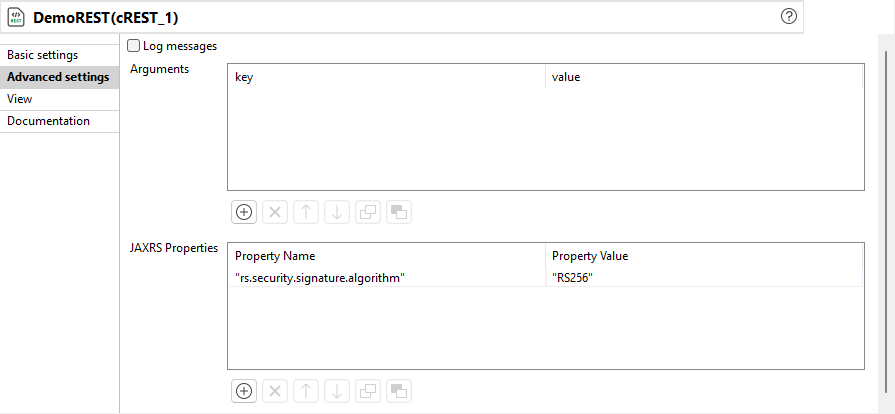
In the Advanced settings view of the
cREST component:
Select the Log messages check box.
In the JAXRS Properties table, add property
"rs.security.signature.algorithm" with the value
"RS256".
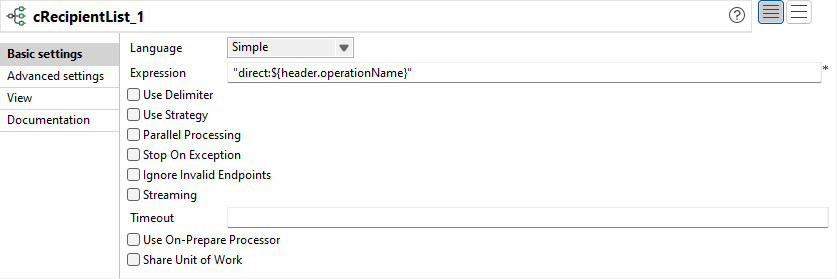
In the Basic settings view of
the cRecipientList component, select
Simple from the Language list, and
enter "direct:${header.operationName}" in the
Expression field.
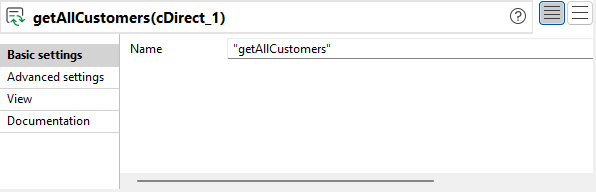
In the Basic settings view of the
cDirect component labeled
getAllCustomers, enter
"getAllCustomers" in the Name
field.
Repeat this step to enter a name to each cDirect
component with the following labels.
getCustomer: "getCustomer"
addCustomer: "addCustomer"
updateCustomer: "updateCustomer"
deleteCustomer: "deleteCustomer"
Type in any string that uniquely identifies the endpoint.
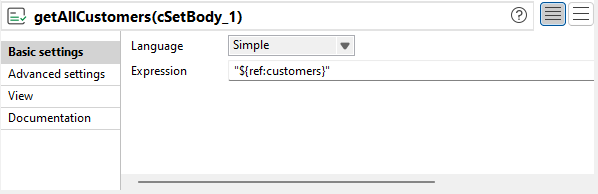
In the Basic settings view of the
cSetBody component labeled
getAllCustomers, select SIMPLE from
the Language list and enter
"${ref:customers}" in the Expression
field.
Repeat this step to enter a Simple expression to each
cSetBody component with the following labels.