Exporting a Job - Cloud - 7.3

Talend Studio User Guide

Version
Cloud
7.3
Language
English
Product
Talend Big Data
Talend Big Data Platform
Talend Cloud
Talend Data Fabric
Talend Data Integration
Talend Data Management Platform
Talend Data Services Platform
Talend ESB
Talend MDM Platform
Talend Real-Time Big Data Platform
Module
Talend Studio
Content
Design and Development
Last publication date
2024-03-20
Available in...

Data Fabric

MDM Platform

From the Integration perspective in Talend Studio, you can export one or more Jobs in order to import them into the MDM perspective.

The export Job feature allows you to deploy and execute the Job on the MDM server. Exporting a Job adds to an archive all the files required to execute the Job, including the .bat and .sh files along with the possible context-parameter files or relative files.

Before you begin

You have already connected to the MDM server from Talend Studio. At least one data integration Job is created in the Integration perspective.

About this task

To export one or more data integration Jobs:

Procedure

  1. In the Integration perspective, expand the Job Designs node in the Repository tree view and browse to the Job you want to export.
  2. Right-click the Job and select Build Job from the contextual menu.
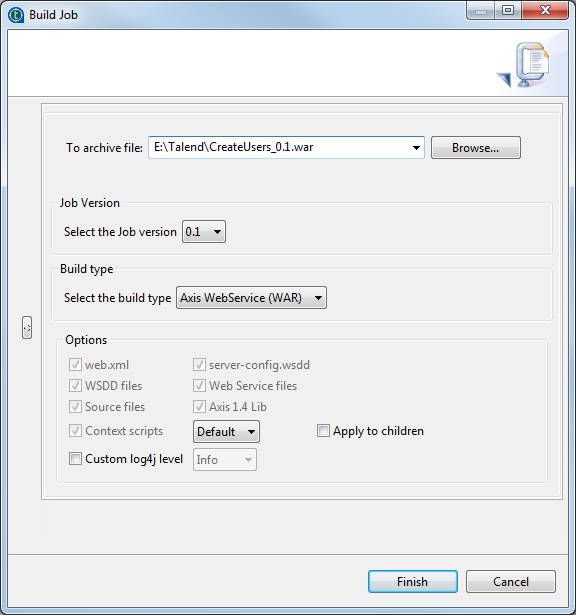
    The Build Job dialog box displays.
    Note: You can show/hide a tree view of all created Jobs directly from the Build Job dialog box by clicking the and the buttons respectively. The Jobs you selected earlier in the Integration perspective display with selected check boxes. This flexibility allows you to modify the selection of items to be exported directly from the dialog box without having to close it and go back to the Integration perspective in Talend Studio.
  3. In the To archive file field, browse to where you want to export the archive file.
  4. In the Job Version area, select the version number of the Job you want to export if you have created more than one version.
  5. From the Select the build type list, select a type for the exported file.
  6. Click Finish to validate your changes, complete the export operation and close the dialog box.

Results

A file of the defined type holding the job information is created in the defined place.