
Writing the sample JSON documents to DynamoDB
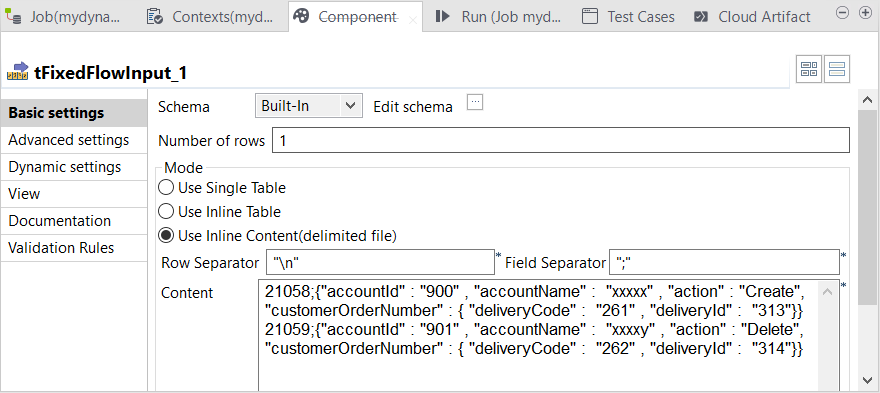
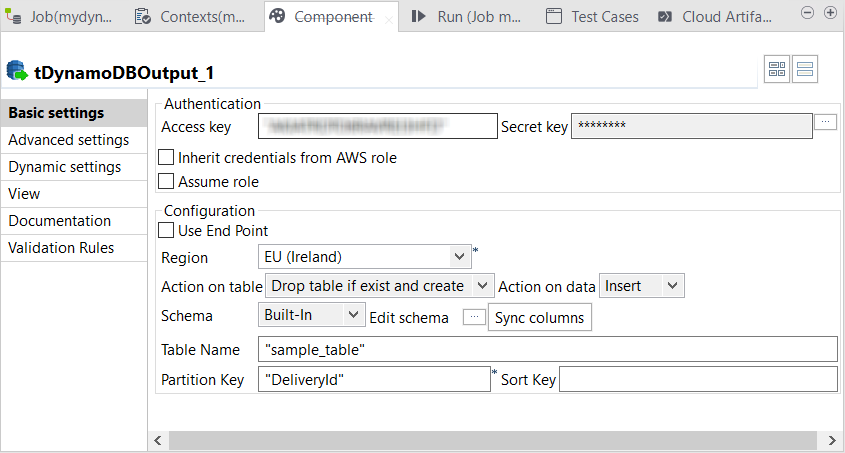
Configure tFixedFlowInput to load the sample data in the data flow and configure tDynamoDBOutput to write this data in a DynamoDB table.
Procedure
-
Double-click tFixedFlowInput in its
Component view.
Example
-
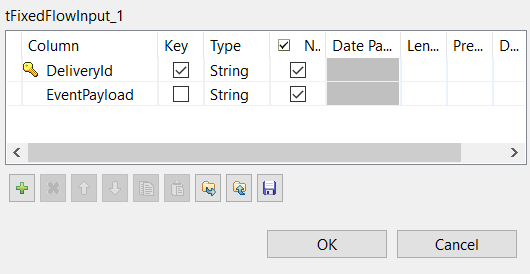
Click the ... button next to Edit
schema to open the schema editor.
Example
-
Double-click tDynamoDBOutput to open its
Component view.
Example
-
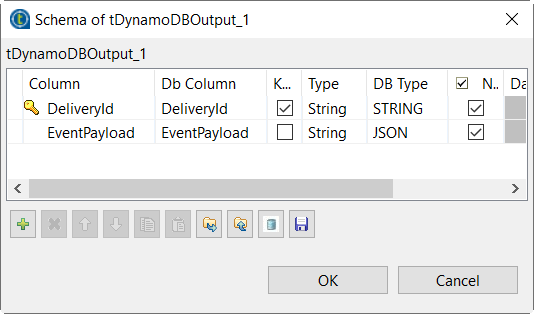
Click the ... button next to Edit schema to open the schema editor. This
component should have retrieved the schema from
tFixedFlowInput.
Example
Did this page help you?
If you find any issues with this page or its content – a typo, a missing step, or a technical error – let us know how we can improve!