Grant your application the access to your ADLS Gen2 - Cloud - 8.0

Databricks

Version
Cloud
8.0
Language
English
Product
Talend Big Data
Talend Big Data Platform
Talend Data Fabric
Talend Real-Time Big Data Platform
Module
Talend Studio
Content
Design and Development > Designing Jobs > Hadoop distributions > Databricks
Design and Development > Designing Jobs > Serverless > Databricks
Last publication date
2024-02-20

Before you begin

An Azure subscription is required.

Procedure

  1. Create your Azure Data Lake Storage Gen2 account if you do not have it yet.
  2. Create an Azure Active Directory application on your Azure portal. For more details about how to do this, see the "Create an Azure Active Directory application" section in Azure documentation: Use portal to create an Azure Active Directory application.
  3. Obtain the application ID, object ID and the client secret of the application to be used from the portal.
    1. On the list of the registered applications, click the application you created and registered in the previous step to display its information blade.
    2. Click Overview to open its blade, and from the top section of the blade, copy the Object ID and the application ID displayed as Application (client) ID. Keep them somewhere safe for later use.
    3. Click Certificates & secrets to open its blade and then create the authentication key (client secret) to be used on this blade in the Client secrets section.
  4. Back to the Overview blade of the application to be used, click Endpoints on the top of this blade, copy the value of OAuth 2.0 token endpoint (v1) from the endpoint list that appears and keep it somewhere safe for later use.
  5. Set the read and write permissions to the ADLS Gen2 filesystem to be used for the service principal of your application.
    It is very likely that the administrator of your Azure system has included your account and your applications in the group that has access to a given ADLS Gen2 storage account and a given ADLS Gen2 filesystem. In this case, ask your administrator to ensure that you have the proper access and then ignore this step.
    1. Start your Microsoft Azure Storage Explorer and find your ADLS Gen2 storage account on the Storage Accounts list.
      If you have not installed Microsoft Azure Storage Explorer, you can download it from the Microsoft Azure official site.
    2. Expand this account and the Blob Containers node under it; then click the ADLS Gen2 hierarchical filesystem to be used under this node.

      Example

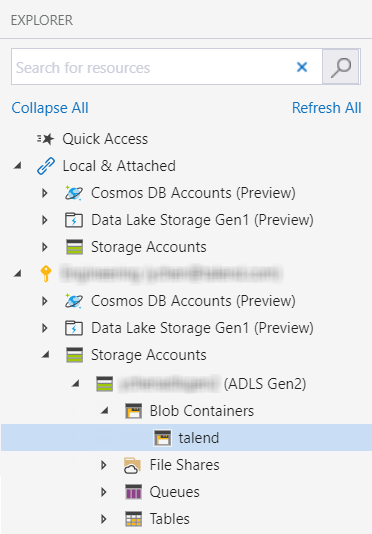
      The filesystem in this image is for demonstration purposes only. Create the filesystem to be used under the Blob Containers node in your Microsoft Azure Storage Explorer, if you do not have one yet.

    3. On the blade that is opened, click Manage Access to open its wizard.
    4. At the bottom of this wizard, add the object ID of your application to the Add user or group field and click Add.
    5. Select the object ID just added from the Users and groups list and select all the permission for Access and Default.
    6. Click Save to validate these changes and close this wizard.