
Creating a hierarchy
From the Hierarchy Explorer page, you can organize the data records pertaining to multiple entities in a schematic form according to the criteria you set in the Pivot and View fields.
This schematic hierarchical view is useful if you want to update specific information for multiple data records.
Before you begin
Information noteNote:
Make sure that you have selected:
- the data container that holds the master data you want to manage,
- the data model against which the master data will be validated.
About this task
Procedure
-
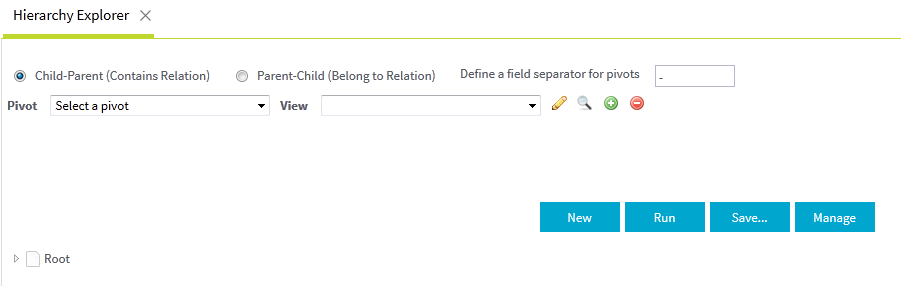
On the Menu panel, click Browse
and then select Hierarchy Explorer.
A new page opens.
Example
-
Select the Child-Parent or Parent-Child option to define the hierarchy
direction.
Define a field separator for your pivots.In this example, you want to classify products by their family names.From the Pivot list, select the entity by which you want to group the attributes.From the View list, select the View that corresponds to the entity fields you want to display in the hierarchy. The Views available for selection are defined in Talend Studio.
Example
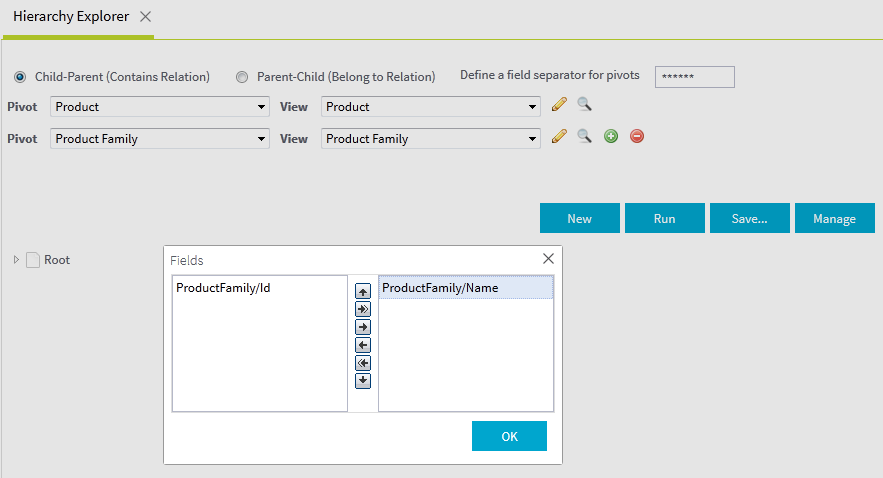 Click the plus button next to the View list to display as many recursive relations as there are foreign keys that link entities together.Information noteNote: Each second pivot list will give access to entities that are linked with the previously selected pivot. When no more pivot can be added, a message will pop up to indicate that no more recursive relations are possible.If required, you can also filter which elements are displayed by clicking the magnifying glass icon and defining your filter in the Advanced Filter window that opens.
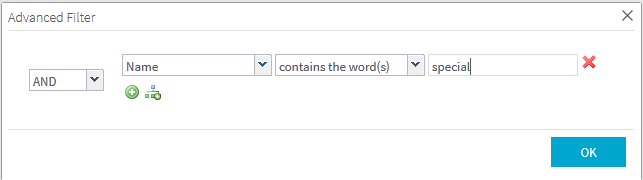
-
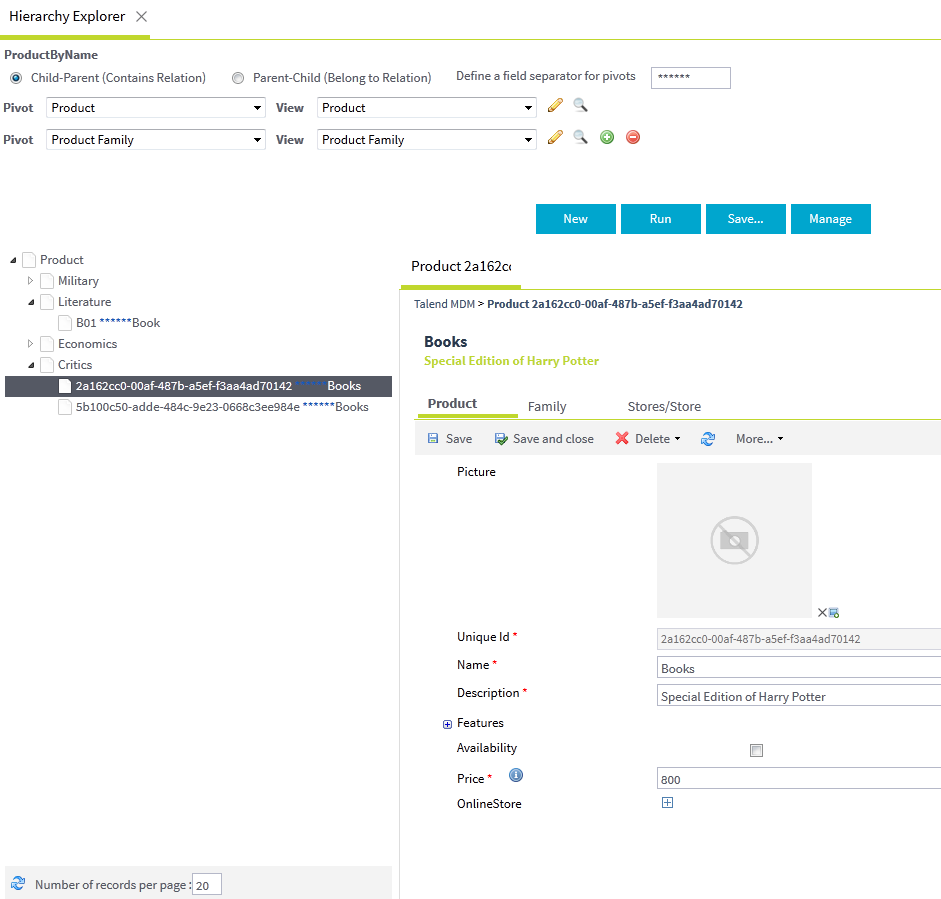
If needed, click the Run button to preview
the result of the hierarchy you have defined.
The hierarchical view shows only one root node. The root node is Product in this example.
Example
-
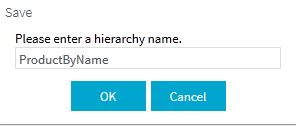
Once you have finished defining the hierarchy, click the Save button.
A dialog box opens, asking you to define a name for the new hierarchy.
Did this page help you?
If you find any issues with this page or its content – a typo, a missing step, or a technical error – let us know how we can improve!