Skip to main content Skip to complementary content

Configuring the components

Procedure

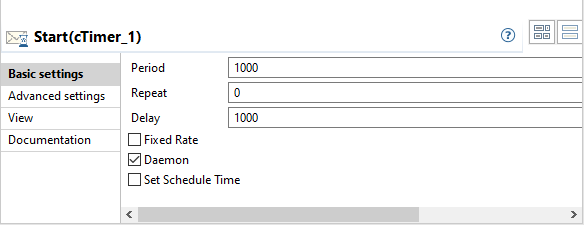
  1. Double-click the cTimer component to display its Basic settings view in the Component tab. Keep the default settings of the options as shown below.
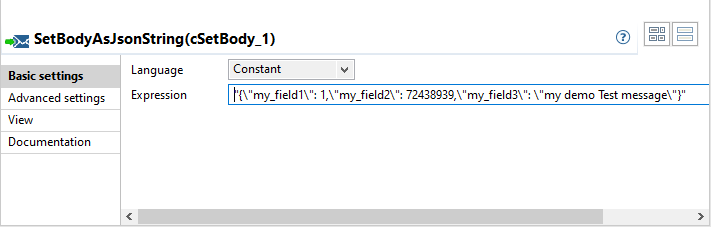
  2. Double-click the first cSetBody component, which is labeled SetBodyAsJsonString, to open its Basic settings view in the Component tab.
  3. Select Constant from the Language drop-down list and type in the JSON string "{\"my_field1\": 1,\"my_field2\": 72438939,\"my_field3\": \"my demo Test message\"}" in the Expression field as the message body.
  4. Double-click the first cProcessor component, which is labeled ConvertBodyToAvro, to open its Basic settings view in the Component tab.
  5. In the Code field, set the following Java code to convert the message body (JSON string) to Avro Record.
    Object body = exchange.getMessage().getBody();
    exchange.getMessage().setBody(KafkaAvroConverterBean.jsonStringToAvro(body));
  6. Click the Advanced settings tab and enter the following statement in the Import field. Make sure you replace local_project with the Talend project name.
    import org.example.local_project.beansjar.kafka_avro_beans.KafkaAvroConverterBean;
  7. Double-click the second cProcessor component, which is labeled ConvertBodyToJsonString, to open its Basic settings view in the Component tab.
  8. In the Code field, set the following Java code to convert the message body (Avro Record) to JSON string.
    Object body = exchange.getMessage().getBody();
    exchange.getMessage().setBody(KafkaAvroConverterBean.avroToJsonString(body));
  9. Click the Advanced settings tab and enter the following statement in the Import field. Make sure you replace local_project with the Talend project name.
    import org.example.local_project.beansjar.kafka_avro_beans.KafkaAvroConverterBean;
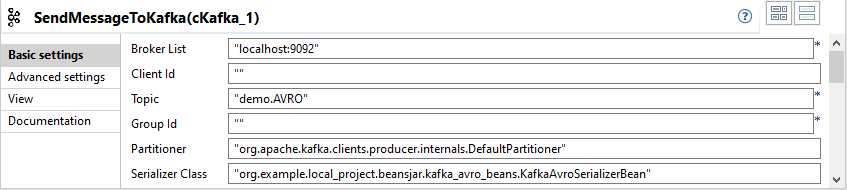
  10. Double-click the first cKafka component, which is labeled SendMessageToKafka, to open its Basic settings view in the Component tab.
  11. In the Broker List field, enter "localhost:9092".
    In the Topic field, enter "demo.AVRO".
    In the Serializer Class field, enter "org.example.local_project.beansjar.kafka_avro_beans.KafkaAvroSerializerBean". Make sure you replace local_project with the Talend project name.
    Keep the default settings of the other options.
  12. Click the Advanced settings tab. In the Kafka Properties field, add a parameter with the name "schemaRegistryURL" and the value "localhost:8081".
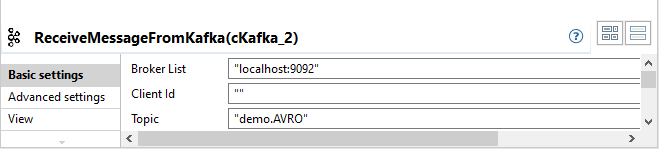
  13. Double-click the second cKafka component, which is labeled ReceiveMessageFromKafka, to open its Basic settings view in the Component tab.
  14. In the Broker List field, enter "localhost:9092".
    In the Topic field, enter "demo.AVRO".
    Keep the default settings of the other options.
  15. Click the Advanced settings tab. In the Kafka Properties field, add two parameters with the name "schemaRegistryURL" and "valueDeserializer", and the value "localhost:8081" and "org.example.local_project.beansjar.kafka_avro_beans.KafkaAvroDeserializerBean" respectively. Make sure you replace local_project with the Talend project name.
  16. Keep the default settings of the cLog components to log the message exchanges.
  17. Press Ctrl+S to save your Route.

Did this page help you?

If you find any issues with this page or its content – a typo, a missing step, or a technical error – let us know how we can improve!