
Writing the output to Azure ADLS Gen1
Two output components are configured to write the expected movie data and
the rejected movie data to different directories in an Azure ADLS Gen1
folder.
Before you begin
- Ensure that your Spark cluster in Databricks has been properly created and is running. For further information, see Create Databricks workspace from Azure documentation.
-
Ensure that you have added the Spark properties regarding the credentials to be used to access your Azure Data Lake Storage Gen1 system, each per line.
spark.hadoop.dfs.adls.oauth2.access.token.provider.type ClientCredential spark.hadoop.dfs.adls.oauth2.client.id <your_app_id> spark.hadoop.dfs.adls.oauth2.credential <your_authentication_key> spark.hadoop.dfs.adls.oauth2.refresh.url https://login.microsoftonline.com/<your_app_TENANT-ID>/oauth2/token - You have an Azure account.
- The Azure Data Lake Storage service to be used has been properly created and your Azure Active Directory application application have the appropriate permissions to access it. You can ask the administrator of your Azure system to be certain of this, or following the procedure described in the section called Granting the application to be used the access to your ADLS Gen1 folder in Moving data from ADLS Gen1 to ADLS Gen2 using Azure Databricks.
Procedure
-
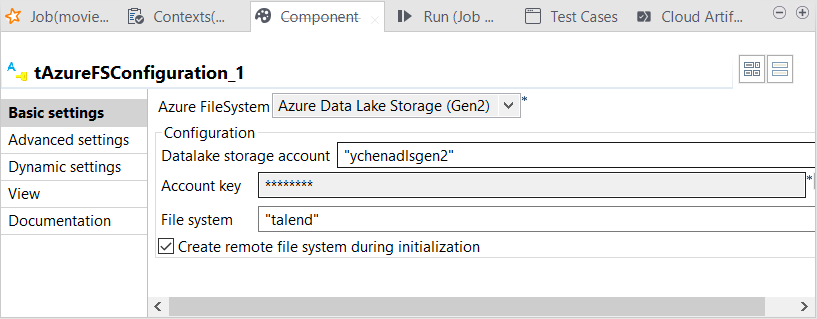
Double-click tAzureFSConfiguration to open its Component view.
Example
-
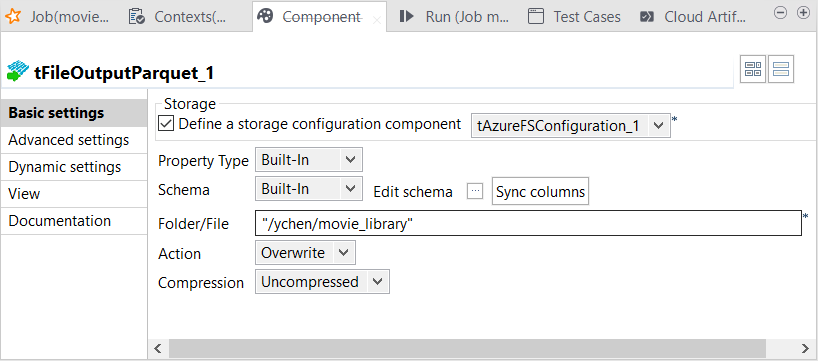
Double-click the tFileOutputParquet component which receives the
out1 link.
Its Basic settings view is opened in the lower part of Talend Studio.
-
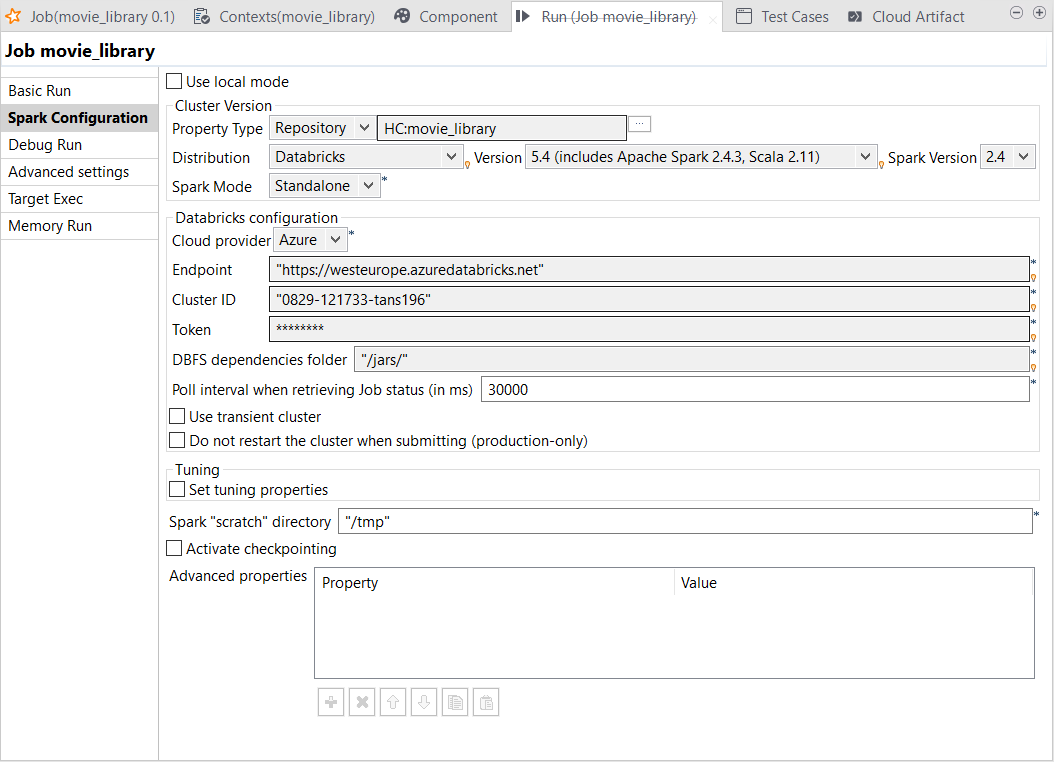
In the Run view, click the Spark Configuration tab to open its view.
Results
The Run view is automatically opened in the lower part of Talend Studio.
Once done, you can check, for example in your Microsoft Azure Storage Explorer, that the output has been written in the ADLS Gen1 folder.
Did this page help you?
If you find any issues with this page or its content – a typo, a missing step, or a technical error – let us know how we can improve!