Uploading a file to DBFS allows the big data Jobs to read and process it. DBFS is
the Big Data file system to be used in this example.
In this procedure, you will create a Job that writes data in your DBFS system. For the files needed for the use case, download
tprtbd_gettingstarted_source_files.zip
from the Downloads tab in the left panel of this page.
Procedure
-
In the Repository tree
view, expand the Job Designs node,
right-click the Standard node, and select
Create folder from the contextual
menu.
-
In the New Folder
wizard, name your Job folder getting_started and click Finish to create your folder.
-
Right-click the getting_started folder and select
Create Standard Job from the contextual menu.
-
In the New Job wizard, give a
name to the Job you are going to create and provide other useful information if
needed.
For example, enter write_to_dbfs in the Name field.
In this step of the wizard,
Name is the only mandatory field. The information
you provide in the Description field will appear as
hover text when you move your mouse pointer over the Job in the
Repository tree view.
-
Click Finish to create your Job.
An empty Job is opened in the Studio.
-
In the design space of this empty Job, type dbfs to search for the DBFS related components. On the component list that is displayed, double-click tDBFSConnection to select it. The tDBFSConnection is added to the design space.
-
Repeat this operation to add tDBFSPut to the design space.
-
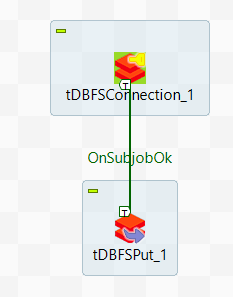
Right click tDBFSConnection and from the contextual menu that is displayed, select .
Example
-
Click tDBFSPut to connect tDBFSConnection to tDBFSPut.
-
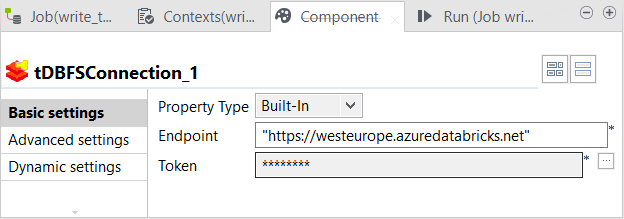
Double-click tDBFSConnection to open its Component view.
Example
-
In the Endpoint field, enter the URL address of your Azure Databricks workspace. This URL can be found in the Overview blade of your Databricks workspace page on your Azure portal. For example, this URL could look like https://adb-$workspaceId.$random.azuredatabricks.net.
-
Click the [...] button next to the Token field to enter the authentication token generated for your Databricks user account. You can generate or find this token on the User settings page of your Databricks workspace. For further information, see Personal access tokens from the Azure documentation.
-
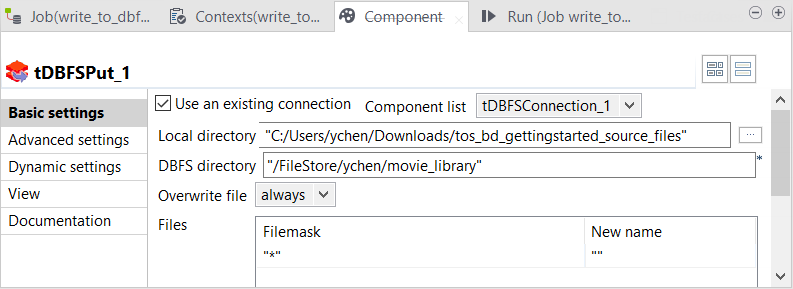
Double-click tDBFSPut to open its Component view.
Example
-
Select Use an existing connection to use the connection information defined in tDBFSConnection.
-
In the Local directory field, enter the path, or browse to the folder in which the files to be copied to DBFS are stored.
-
In the DBFS directory field, enter the path to the target directory in DBFS to store the files. This location is recommended to be in the FileStore folder, according to the FileStore section in the Databricks documentation.
This directory is created on the fly if it does not exist.
-
From the Overwrite file drop-down list, select always to overwrite the files if they already exist in the target directory in DBFS.
-
In the Files table, add one row by clicking the [+] button in order to define the criteria to select the files to be copied.
-
In the Filemask column, enter an asterisk (*) within the double quotation marks to make tDBFSPut select all the files stored in the folder you specified in the Local directory field.
-
Leave the New name column empty, that is to say, keep the default double quotation marks as is, so as to make the name of the files unchanged after being uploaded.
-
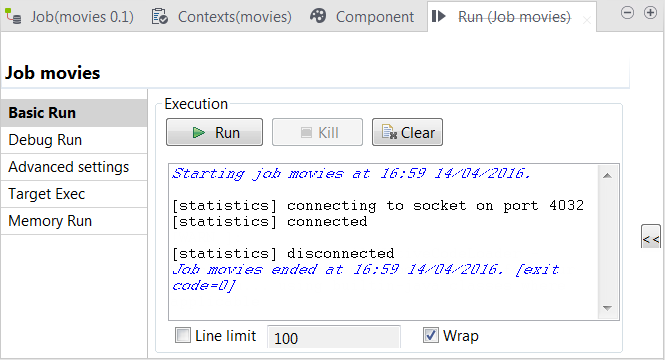
Press F6 to run the Job.
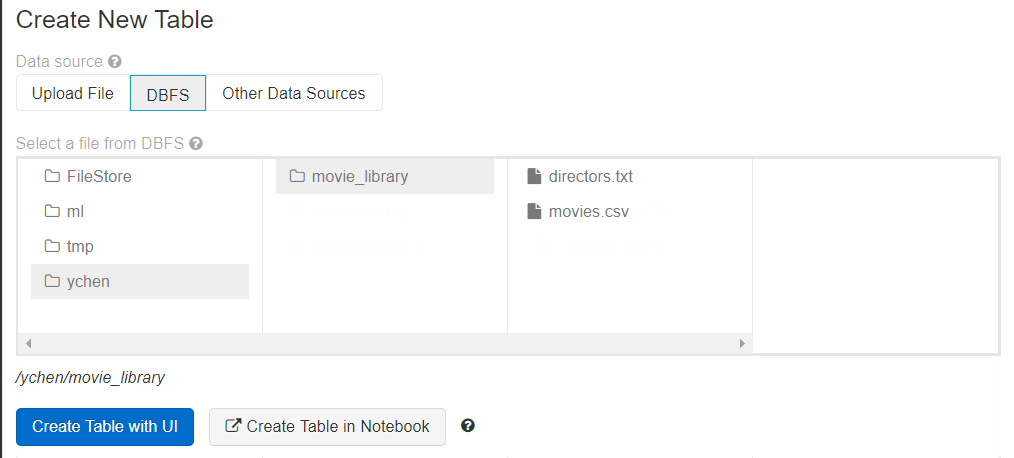
The RunThe files about movies and their directors are stored in this view is opened automatically. It shows the progress of this Job.
Results
When the Job is done, the files you uploaded can be found in DBFS in the directory you have specified.