
Defining a match analysis from the Analysis folder
Procedure
-
Right-click the Analysis folder and
select New Analysis.
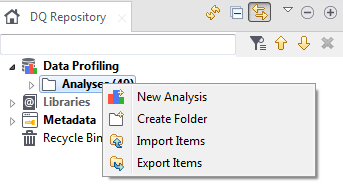 The Create New Analysis wizard opens.
 -
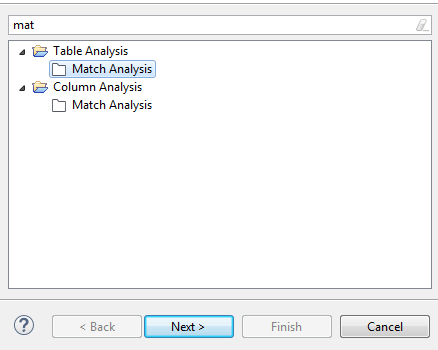
Start typing match in the filter field, select
Match Analysis and click Next to
open a wizard.
-
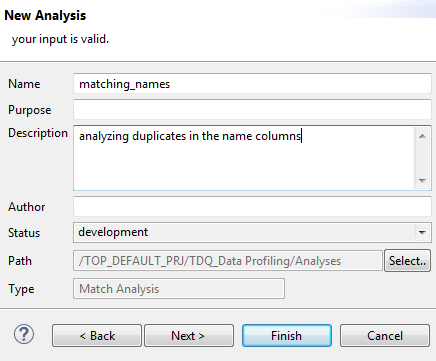
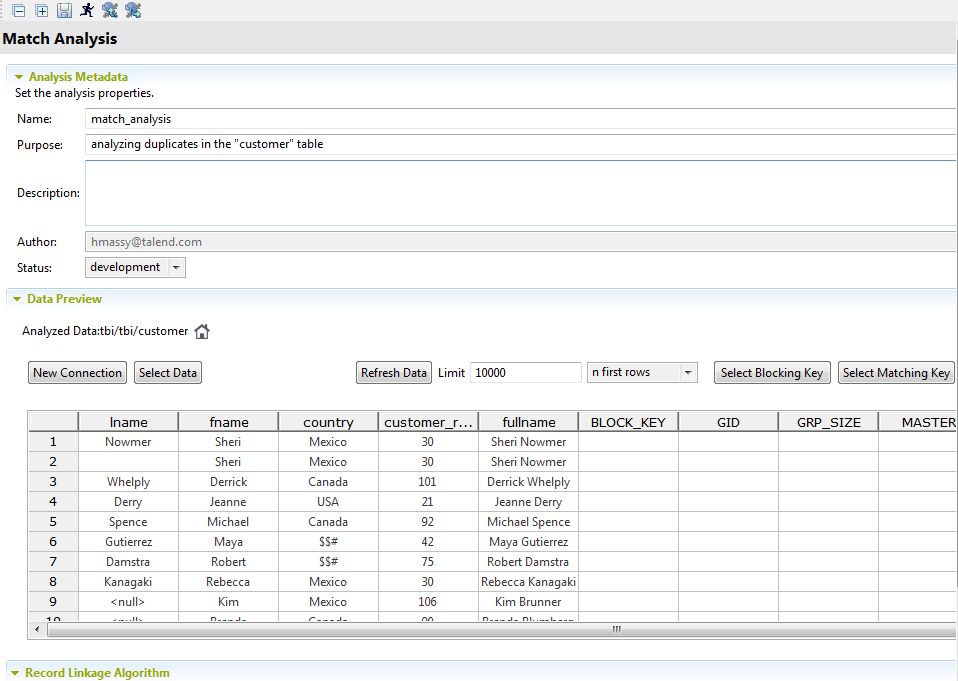
Set the analysis name and metadata and then click Next.
Information noteImportant:
Do not use the following special characters in the item names: ~ ! ` # ^ * & \\ / ? : ; \ , . ( ) ¥ ' " « » < >
These characters are all replaced with "_" in the file system and you may end up creating duplicate items.
-
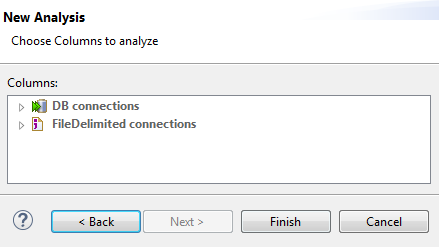
Expand DB connections or FileDelimited connections depending on if the columns
you want to match are in a database or a delimited file.
-
Browse to the columns you want to match, select them and then click
Finish.
The columns you select should be in the same table. Currently, the match analysis does not work on columns in different tables.The match analysis editor opens listing the selected columns.
 You can also define a match analysis starting from the table or columns you want to match. For further information, see Defining a match analysis from the Metadata folder.
Did this page help you?
If you find any issues with this page or its content – a typo, a missing step, or a technical error – let us know how we can improve!