
Deploying your portal with Azure Static Web Apps
Deploy your portal by connecting your GitHub repository to Azure Static Web
Apps.
For more information, see the Azure Static Web Apps documentation.
Before you begin
- You have the relevant rights on Microsoft Azure.
- You have generated your API Portal repository.
Procedure
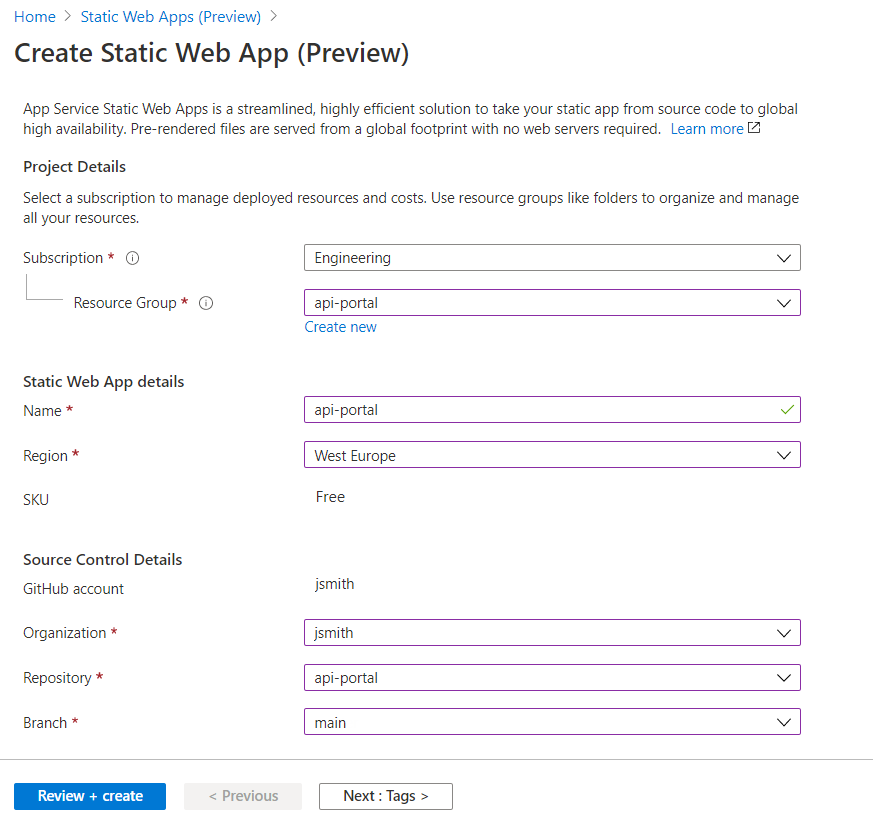
-
Once your account is linked, select the organization, repository and branch to
use to build your portal.
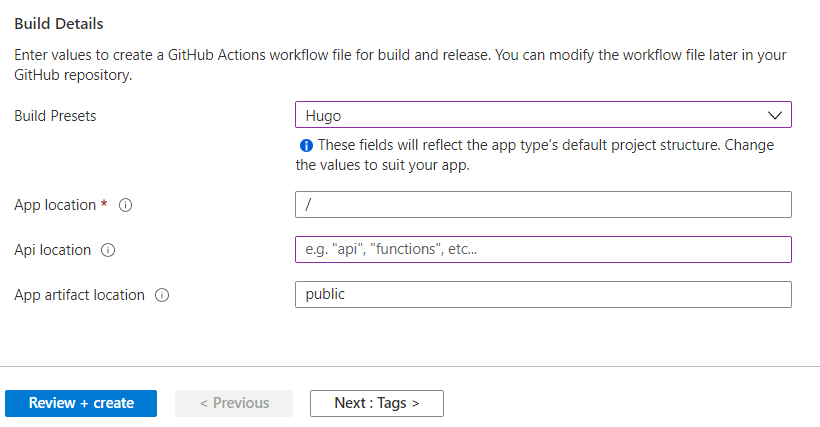
-
In the Build Presets
drop-down list, select Hugo, then enter
the required location details.
This parameter allows Azure Static Web Apps to automatically use the build configuration provided in the GitHub repository.
Results
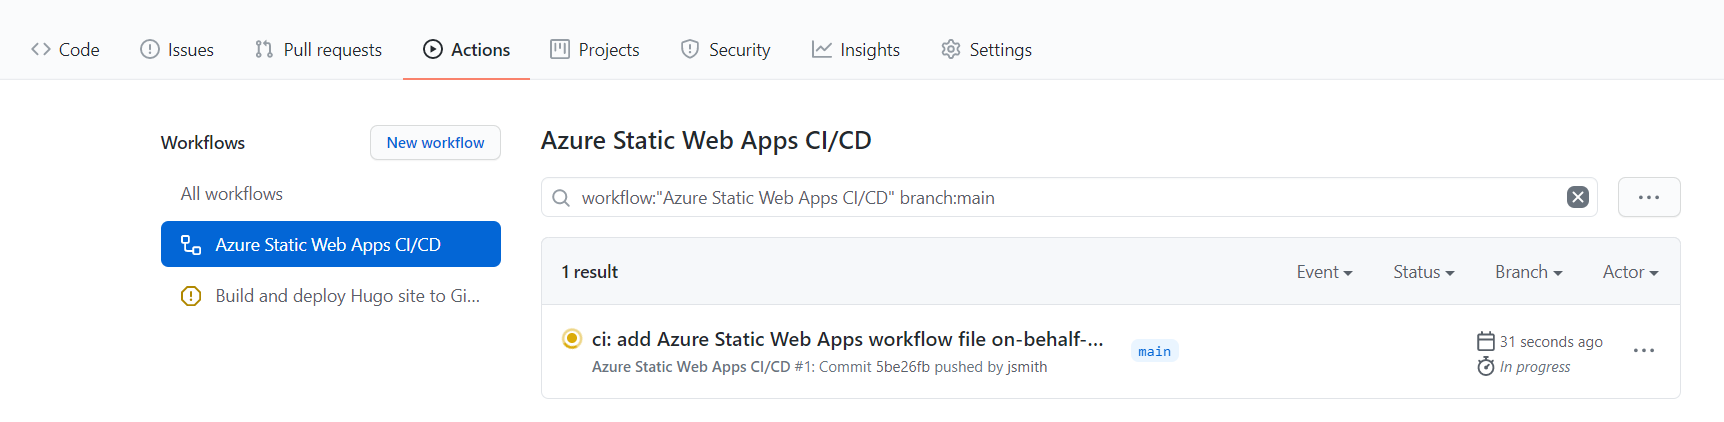
Once it is completed, you can click the URL provided on Azure Static Web Apps to access
your portal.

Did this page help you?
If you find any issues with this page or its content – a typo, a missing step, or a technical error – let us know how we can improve!