Skip to main content Skip to complementary content

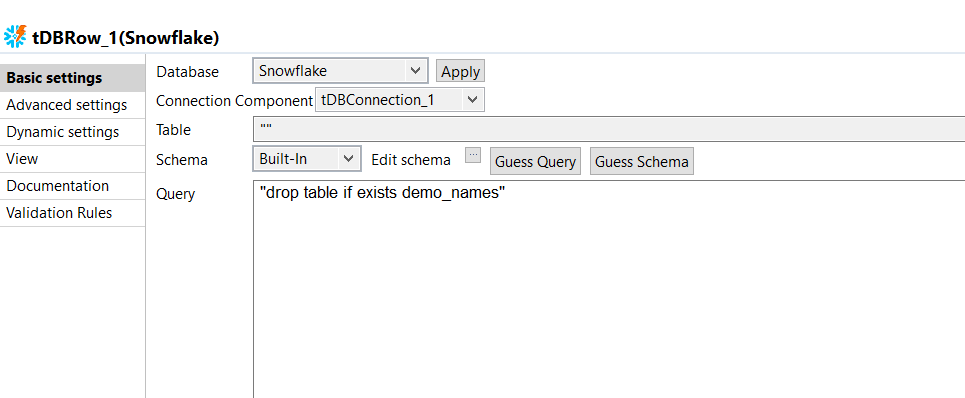
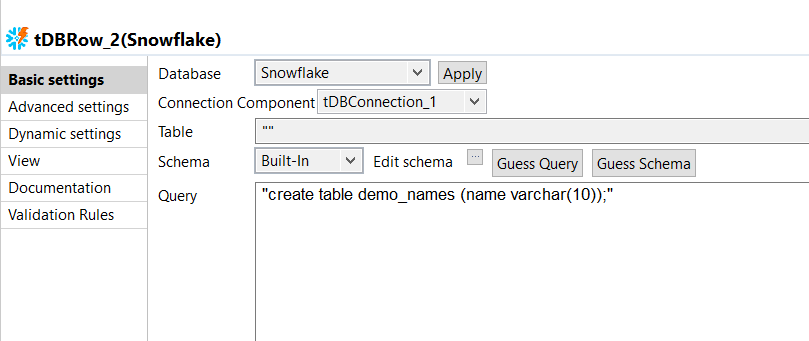
Creating a Snowflake table

Configure the tSnowflakeRow to create a table. If the table already exists, it will be dropped and then created. Next, configure the tFixedFlowInput component to generate several records, one of which violates the length limitation.

Procedure

  1. Double-click the tSnowflakeRow component to open its Basic settings view.
  2. Specify the connection details required to access Snowflake. In this example, from the Connection Component drop-down list displayed, select the connection component to reuse its connection details you have already defined.
  3. In the Queue field, enter the query statement between double quotation marks to drop the table if it already exists. In this example, it is drop table if exists demo_names.
  4. Double-click the tSnowflakeRow component to open its Basic settings view.
  5. Specify the connection details required to access Snowflake. In this example, from the Component List drop-down list displayed, select the connection component to reuse its connection details you have already defined.
  6. In the Queue field, enter the query statement between double quotation marks to create a table. In this example, it is create table demo_names (name varchar(10));.
  7. Double-click the tFixedFlowInput component to open its Basic settings view.
  8. Click the button next to Edit schema to define the schema. In this example, the schema has only one column: Name.
  9. In the Mode area, select Use Inline Content. Then add three records. In this example, they are:
    
    Harry
    veryveryveryLongName
    Jack

Did this page help you?

If you find any issues with this page or its content – a typo, a missing step, or a technical error – let us know how we can improve!